Terrarium Tutorial
June 18, 2020
If you’ve been following along with these tutorials you may have noticed a theme by now: they require getting out in nature and using what you already have at home. Today’s tutorial is no different. As many of us continue to work remotely and avoid crowded places like stores (even as they reopen), we’re focusing on little projects that don’t require much time or materials, and work with all skill levels.
Technically a terrarium is a miniature garden in a sealed glass container. A base layer of soil, moss, or charcoal supports tiny moisture-loving plants like ferns that draw water from the soil, transpire the water through their leaves, which forms droplets on the top of the container that then drip back down to the soil to begin the cycle over again. Sealed terraria have their origins in Victorian England but they’ve made a major comeback recently as decorative objects for the home. The term has also come to mean an open container for dry climate plants like succulents and air plants. Today we’ll be making an open terrarium to house air plants.
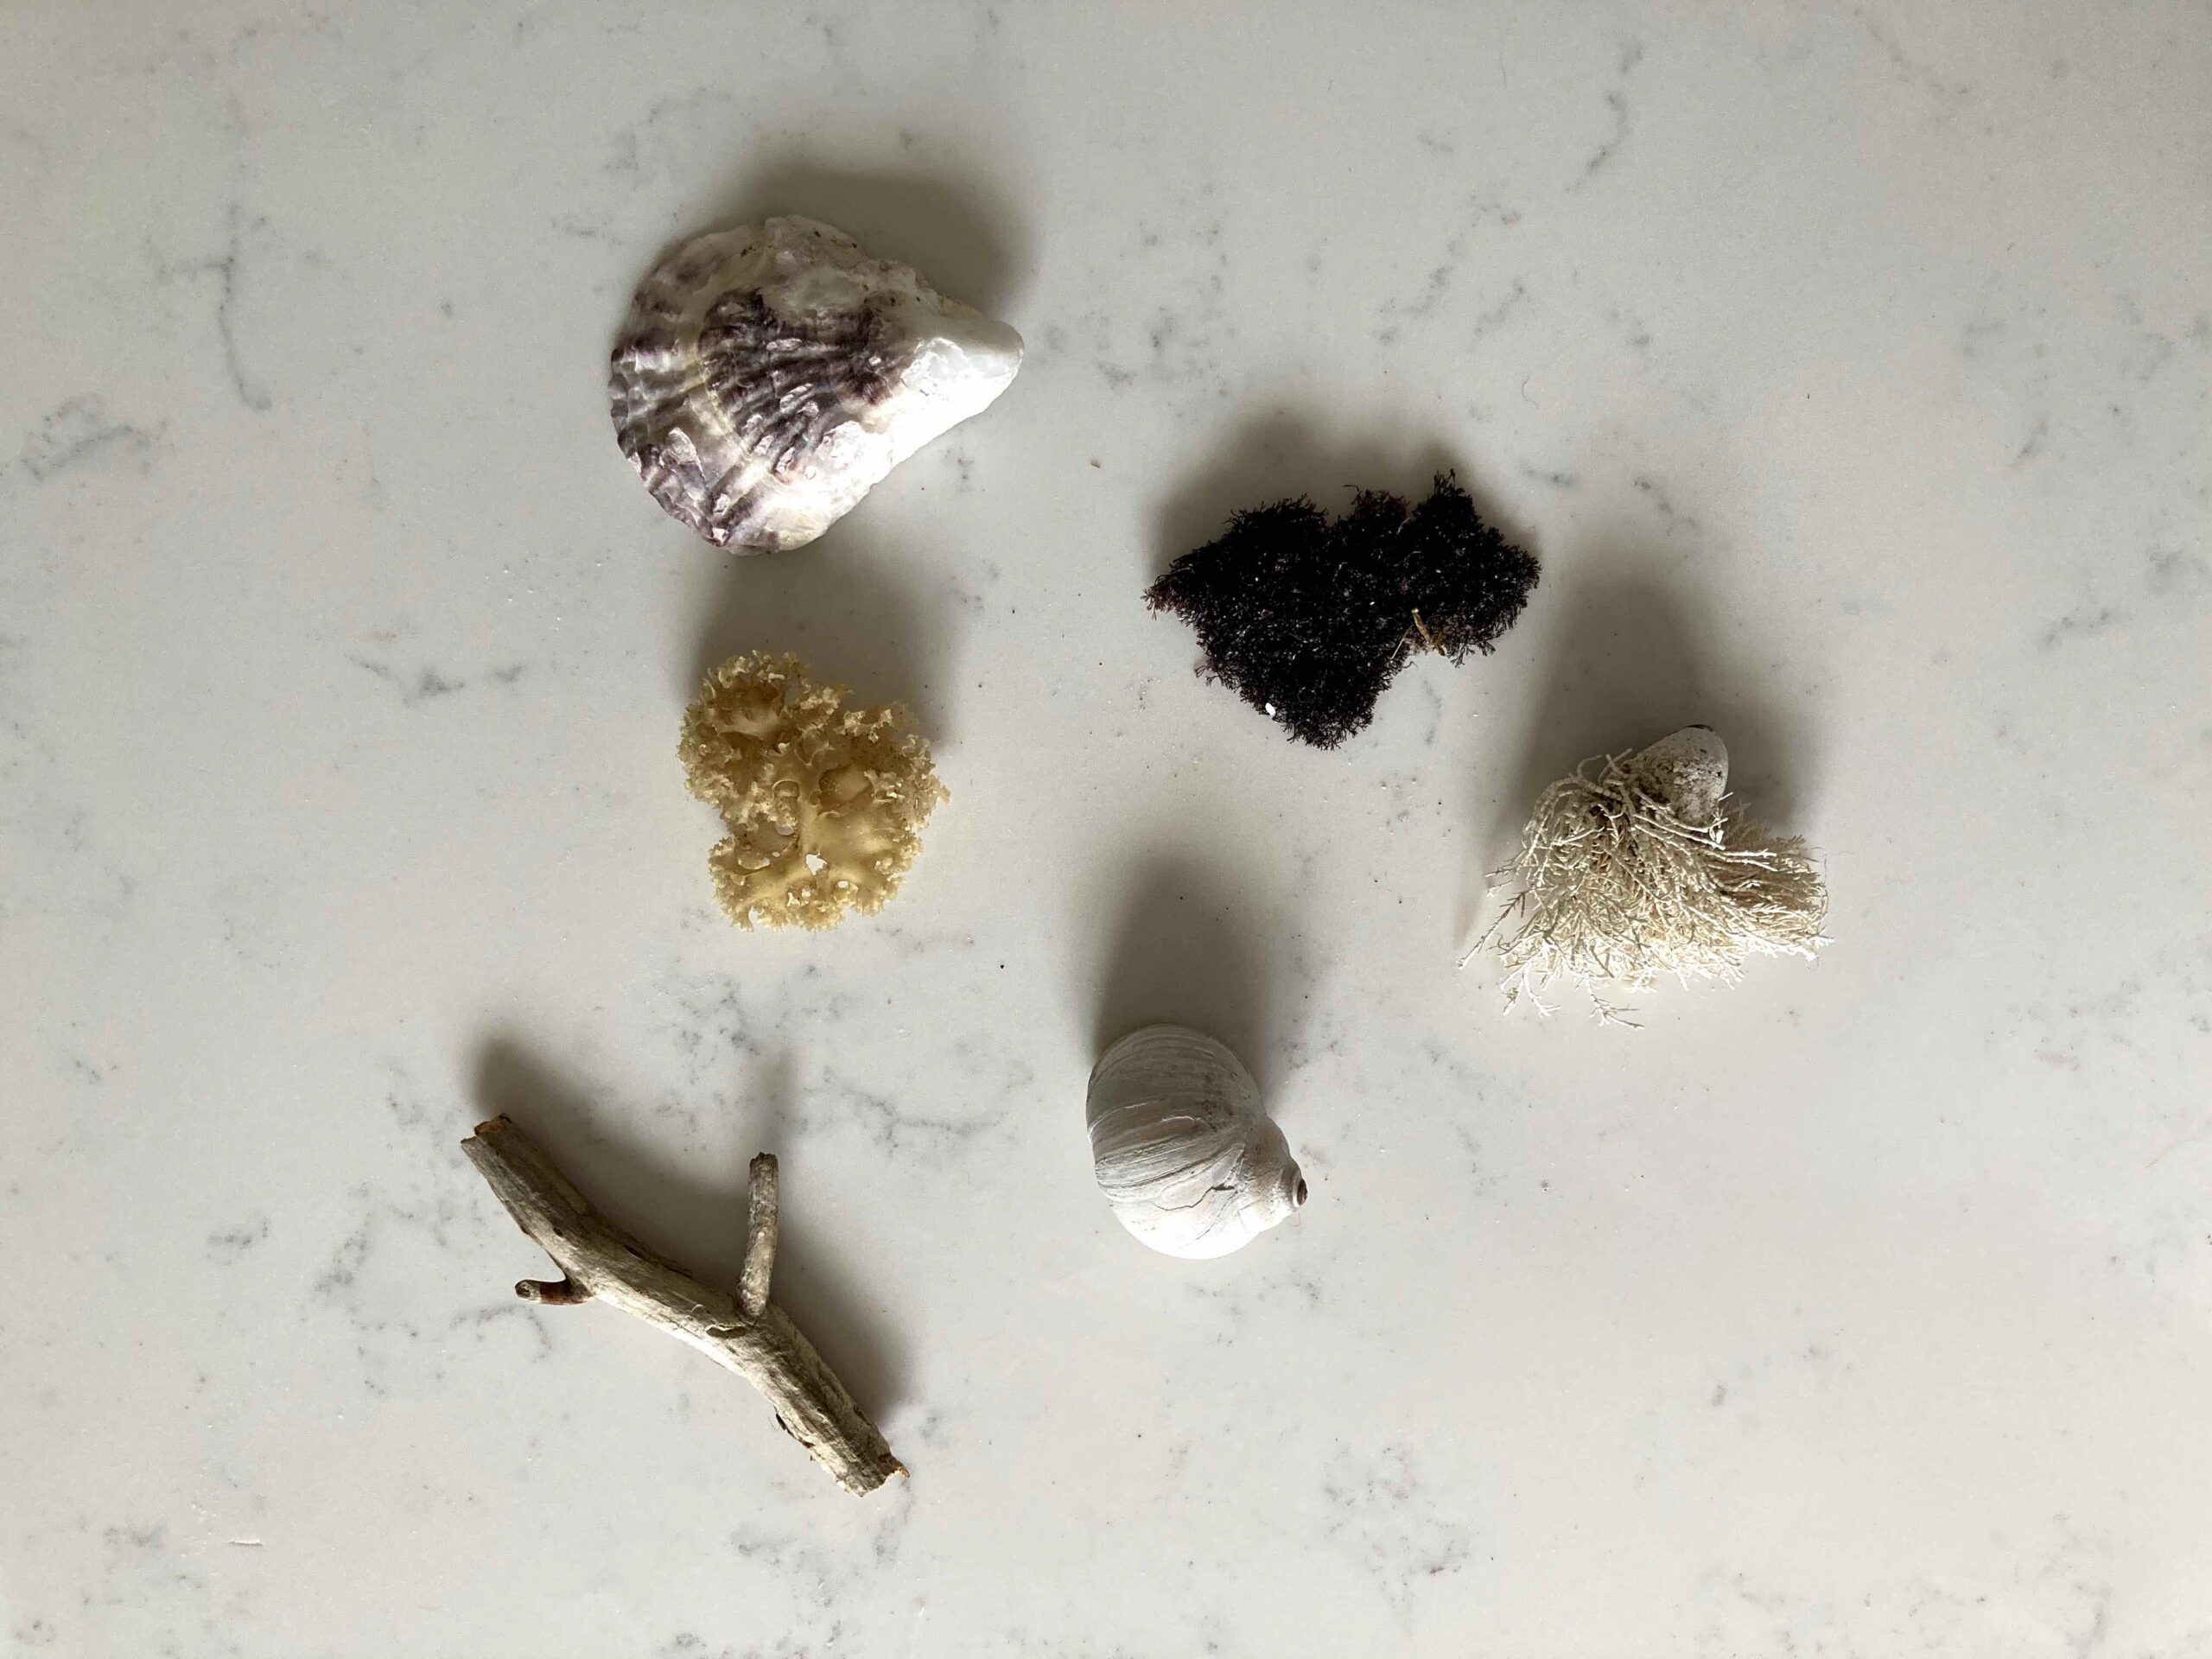
Begin by going outside to collect the natural objects you’ll use to fill the container and surround your plants. These will need to be objects that won’t wither or rot such as shells, driftwood, pebbles, dried seaweed, dried flowers or leaves, acorns, pinecones, or strips of birch bark. You’ll also need to think about a base for these objects and the plants such as soil, moss, pebbles or sand. Since all of the objects I am using in my terrarium came from the beach, I collected sand to use for the base.
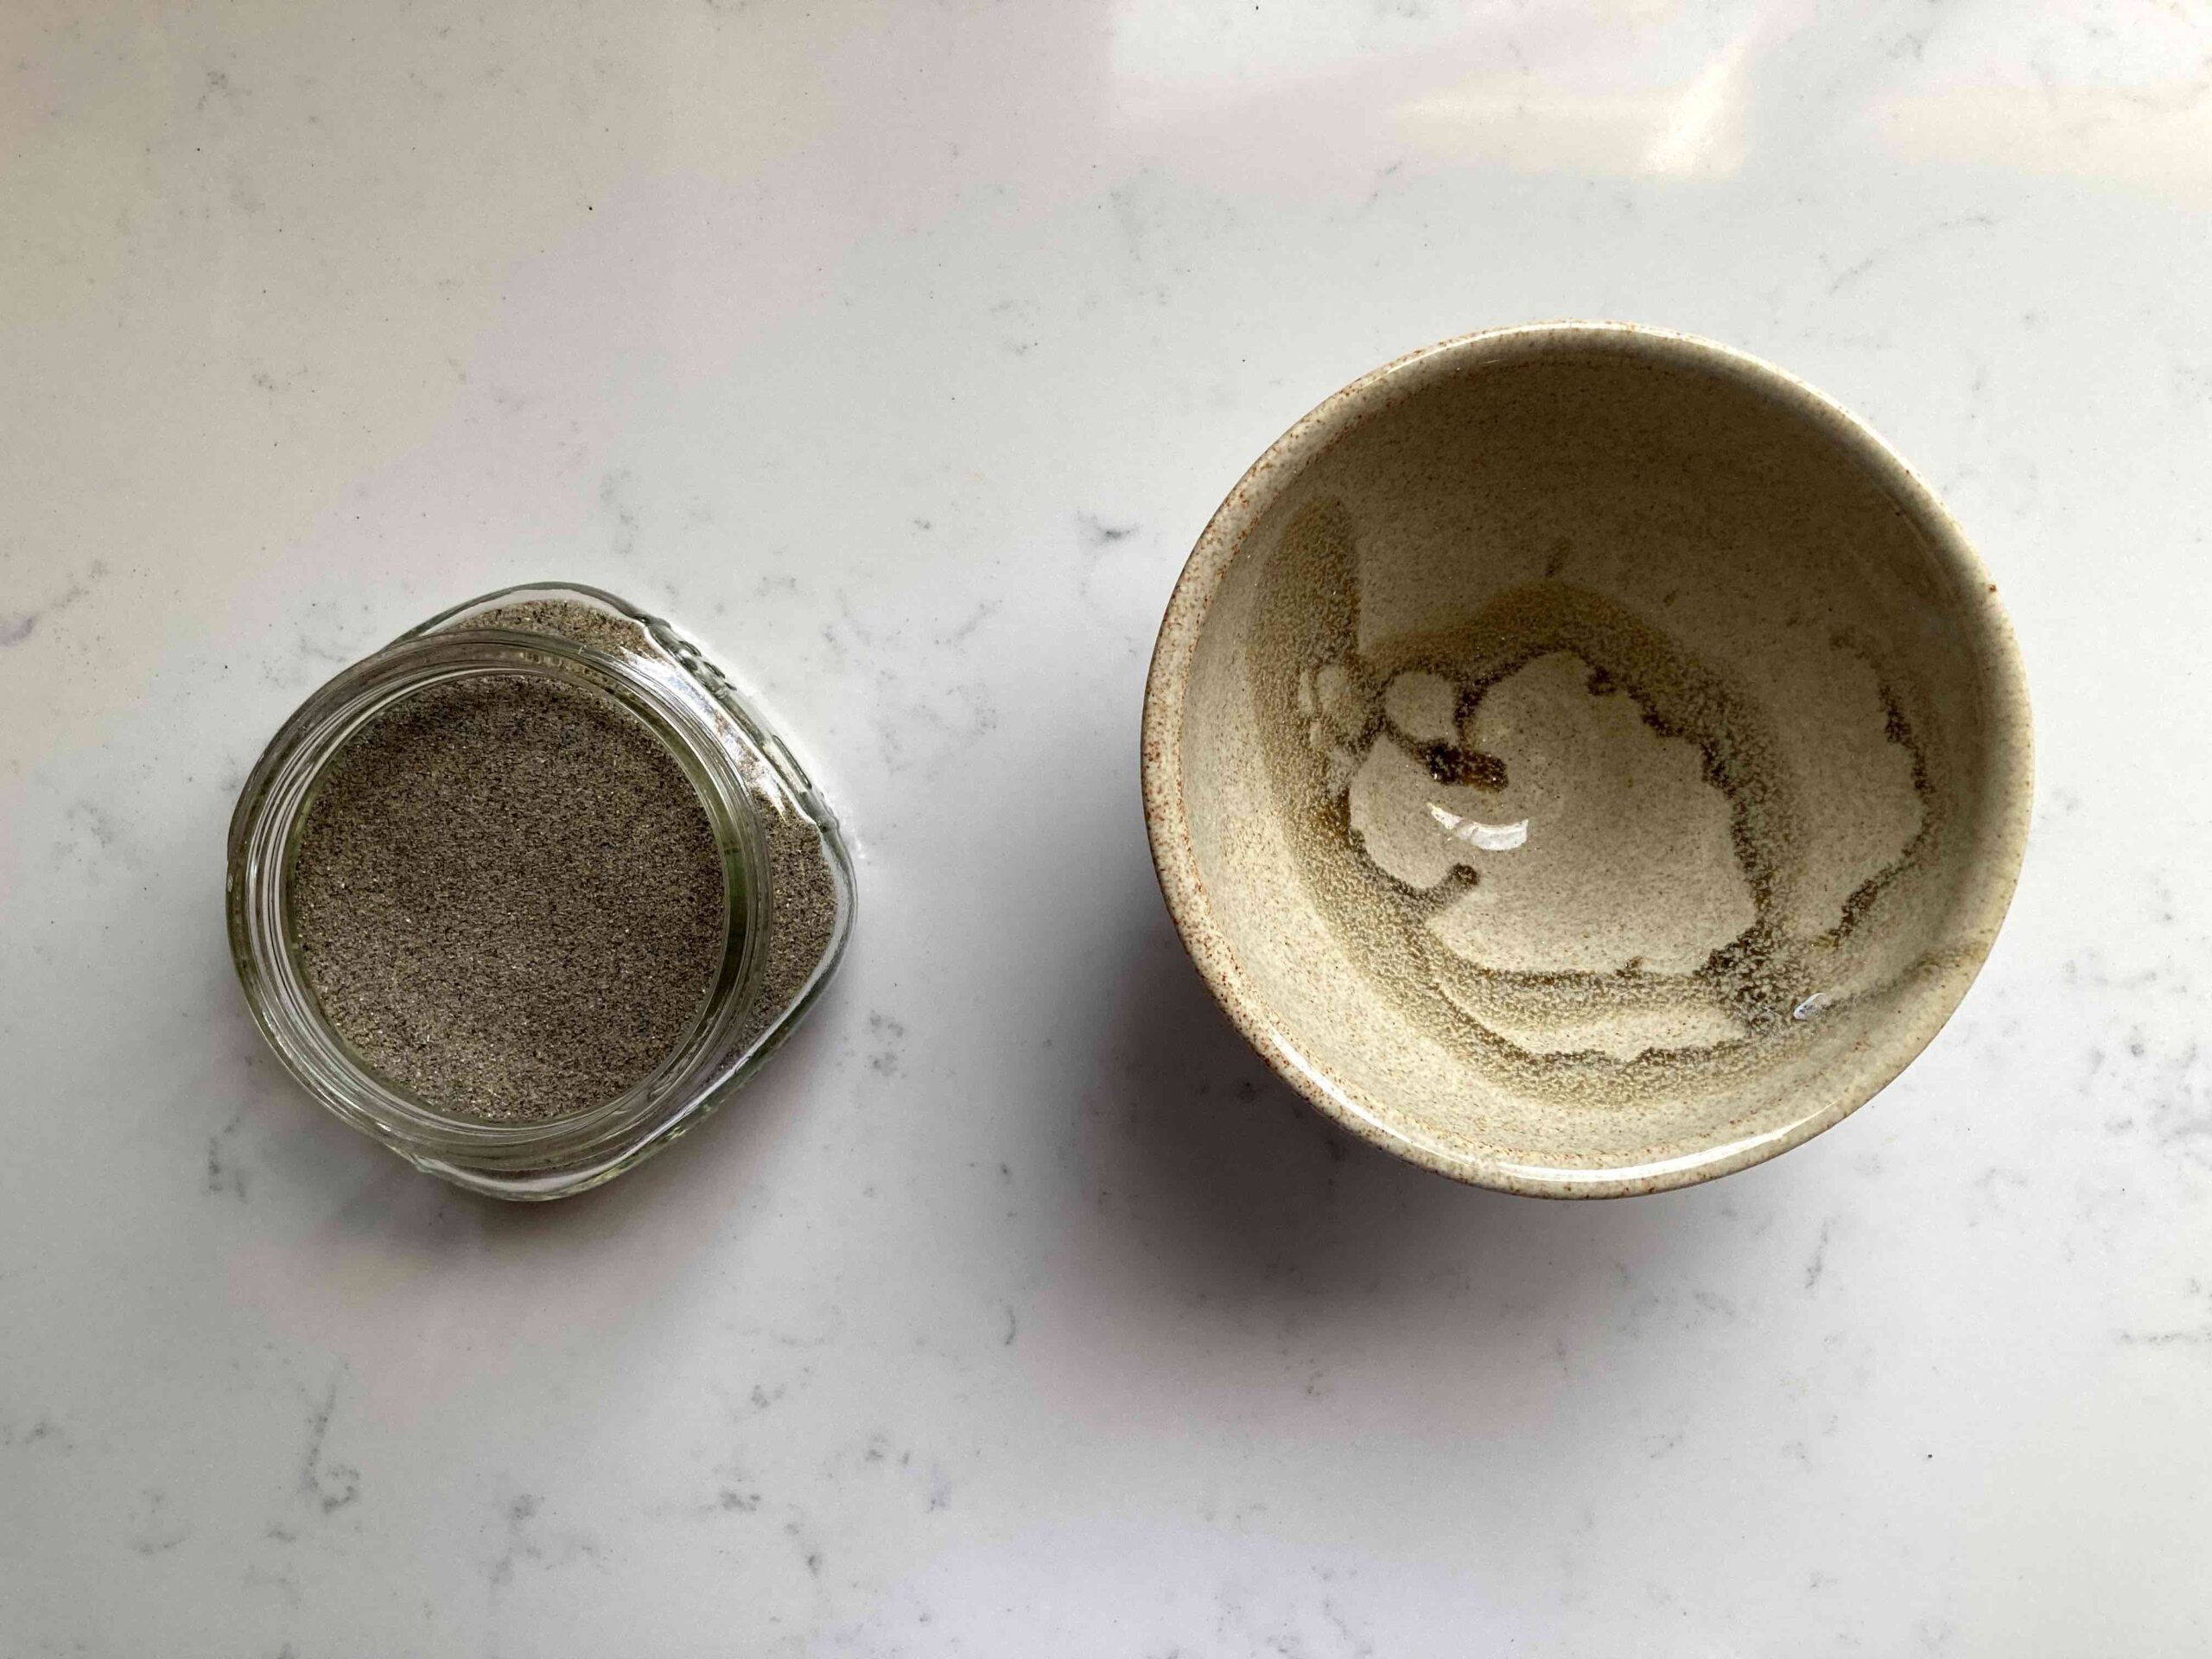
Now that you have your materials, you need to choose a container. Traditionally, a glass container is used so that the sun can shine in on the live plants. The advantage to glass is that you can see all the layers of your base and have a good view of all your other objects and plants. With an open terrarium though, really anything goes. This is a great opportunity to upcycle a wide mouth jar, an empty fish bowl, or to use that mug, bowl or planter that is cracked or chipped. If you are using air plants you won’t add water directly to the container, so it doesn’t need to be water tight. I’ve seen some very creative terraria that have used old lanterns, recycled light bulbs, vintage glass ice buckets, and beer steins. Of course, if you’d like to spend a bit of money, the internet is chock full of terraria structures to purchase. I’ll be using a beautiful handmade ceramic bowl I received as a gift.
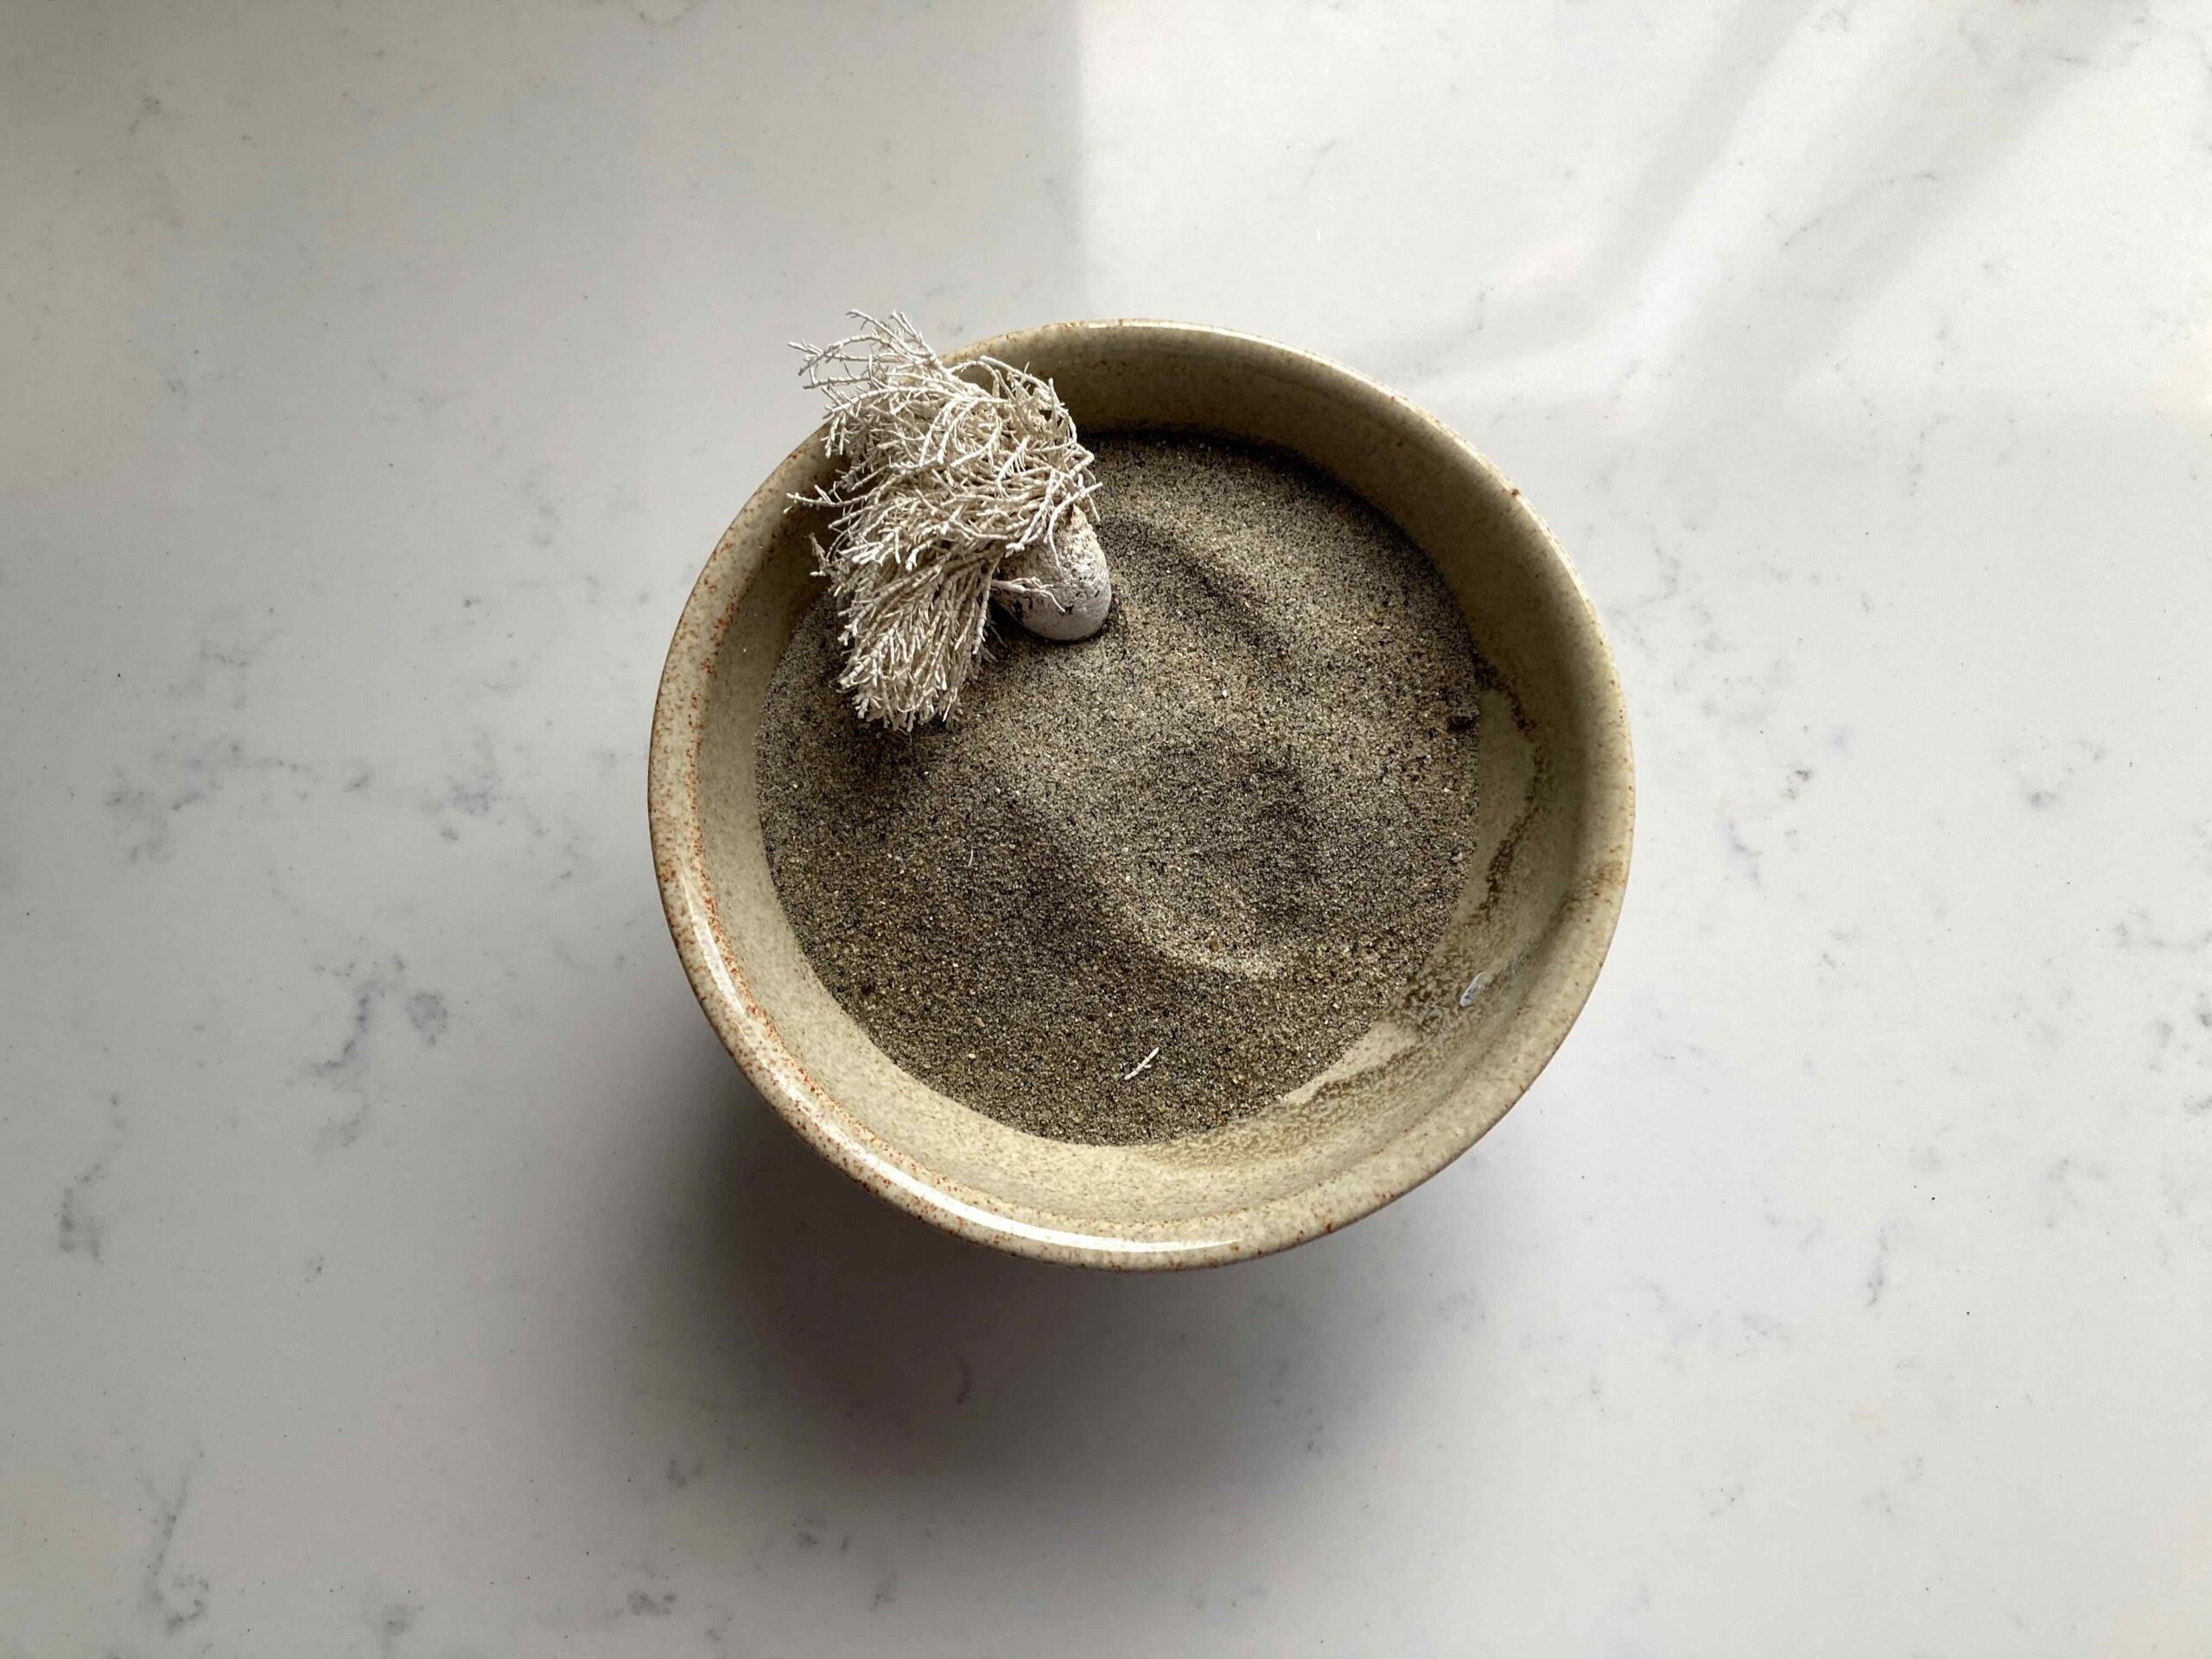
Fill your container with the base sand or soil (or whatever else you are using). Leave a space between the base and the top lip of the container such that your objects can be seen over the edge when viewed from the side.
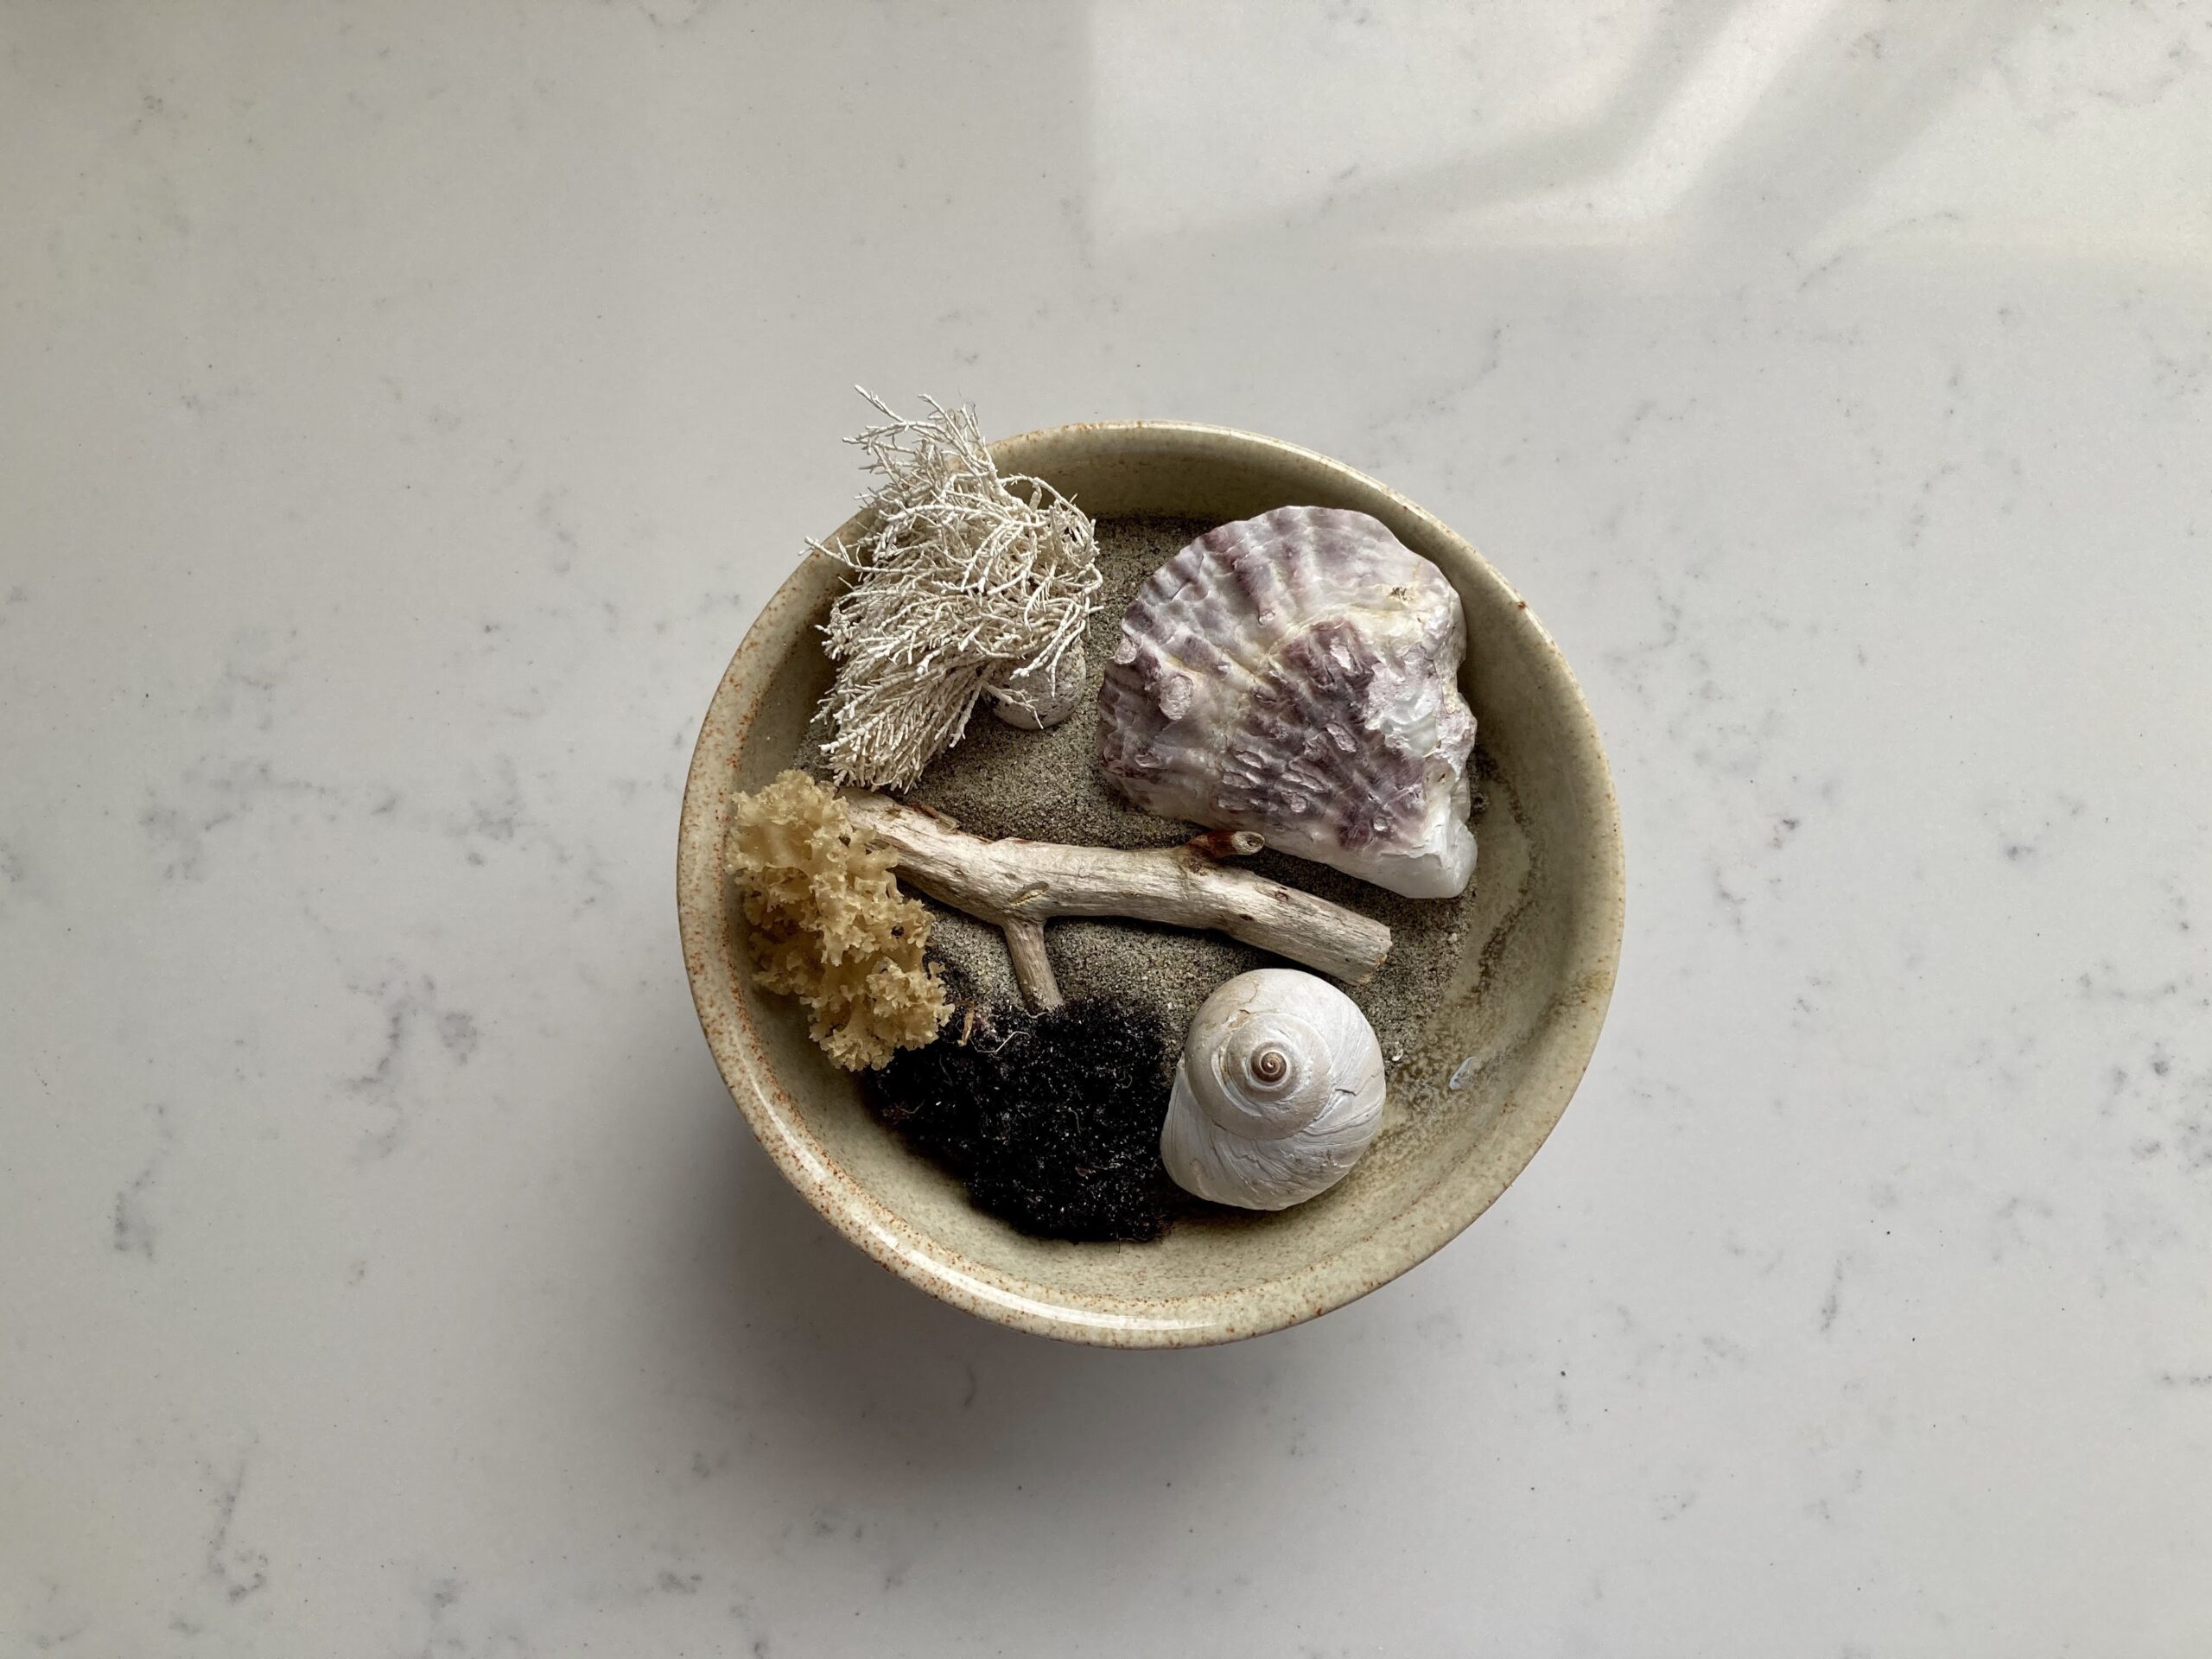
Arrange your objects in your container, leaving a bit of space to add your plants.
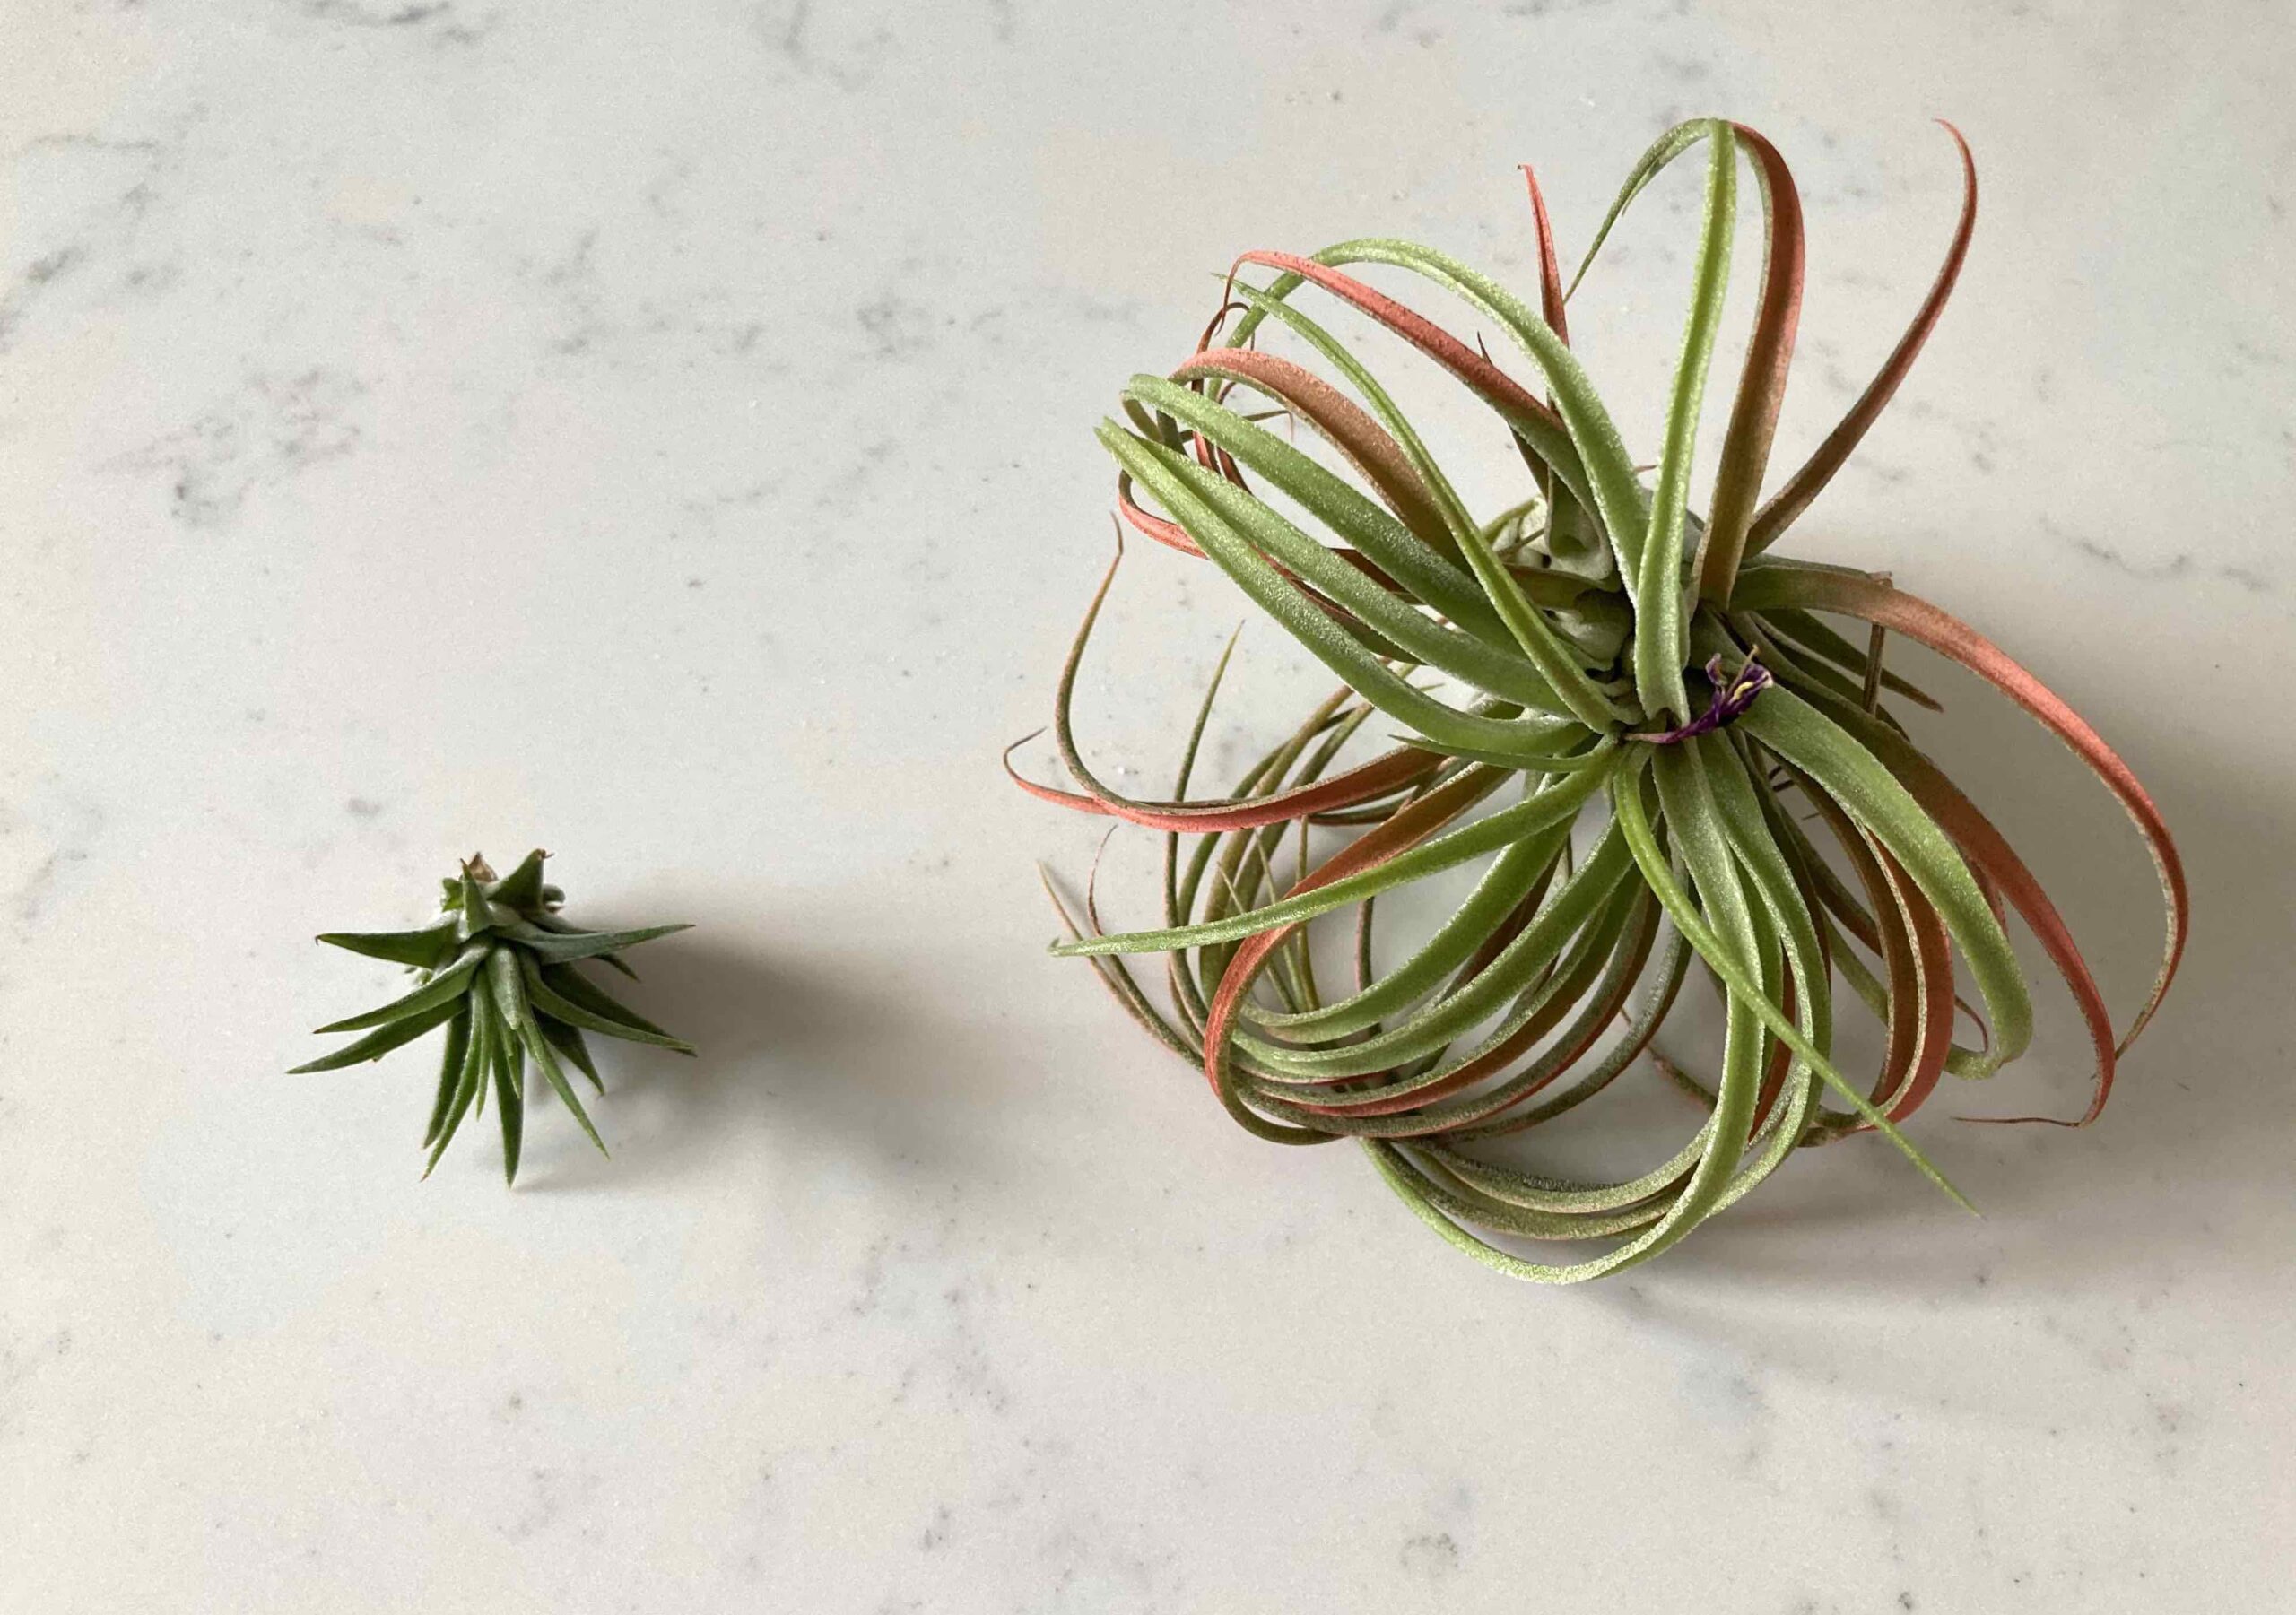
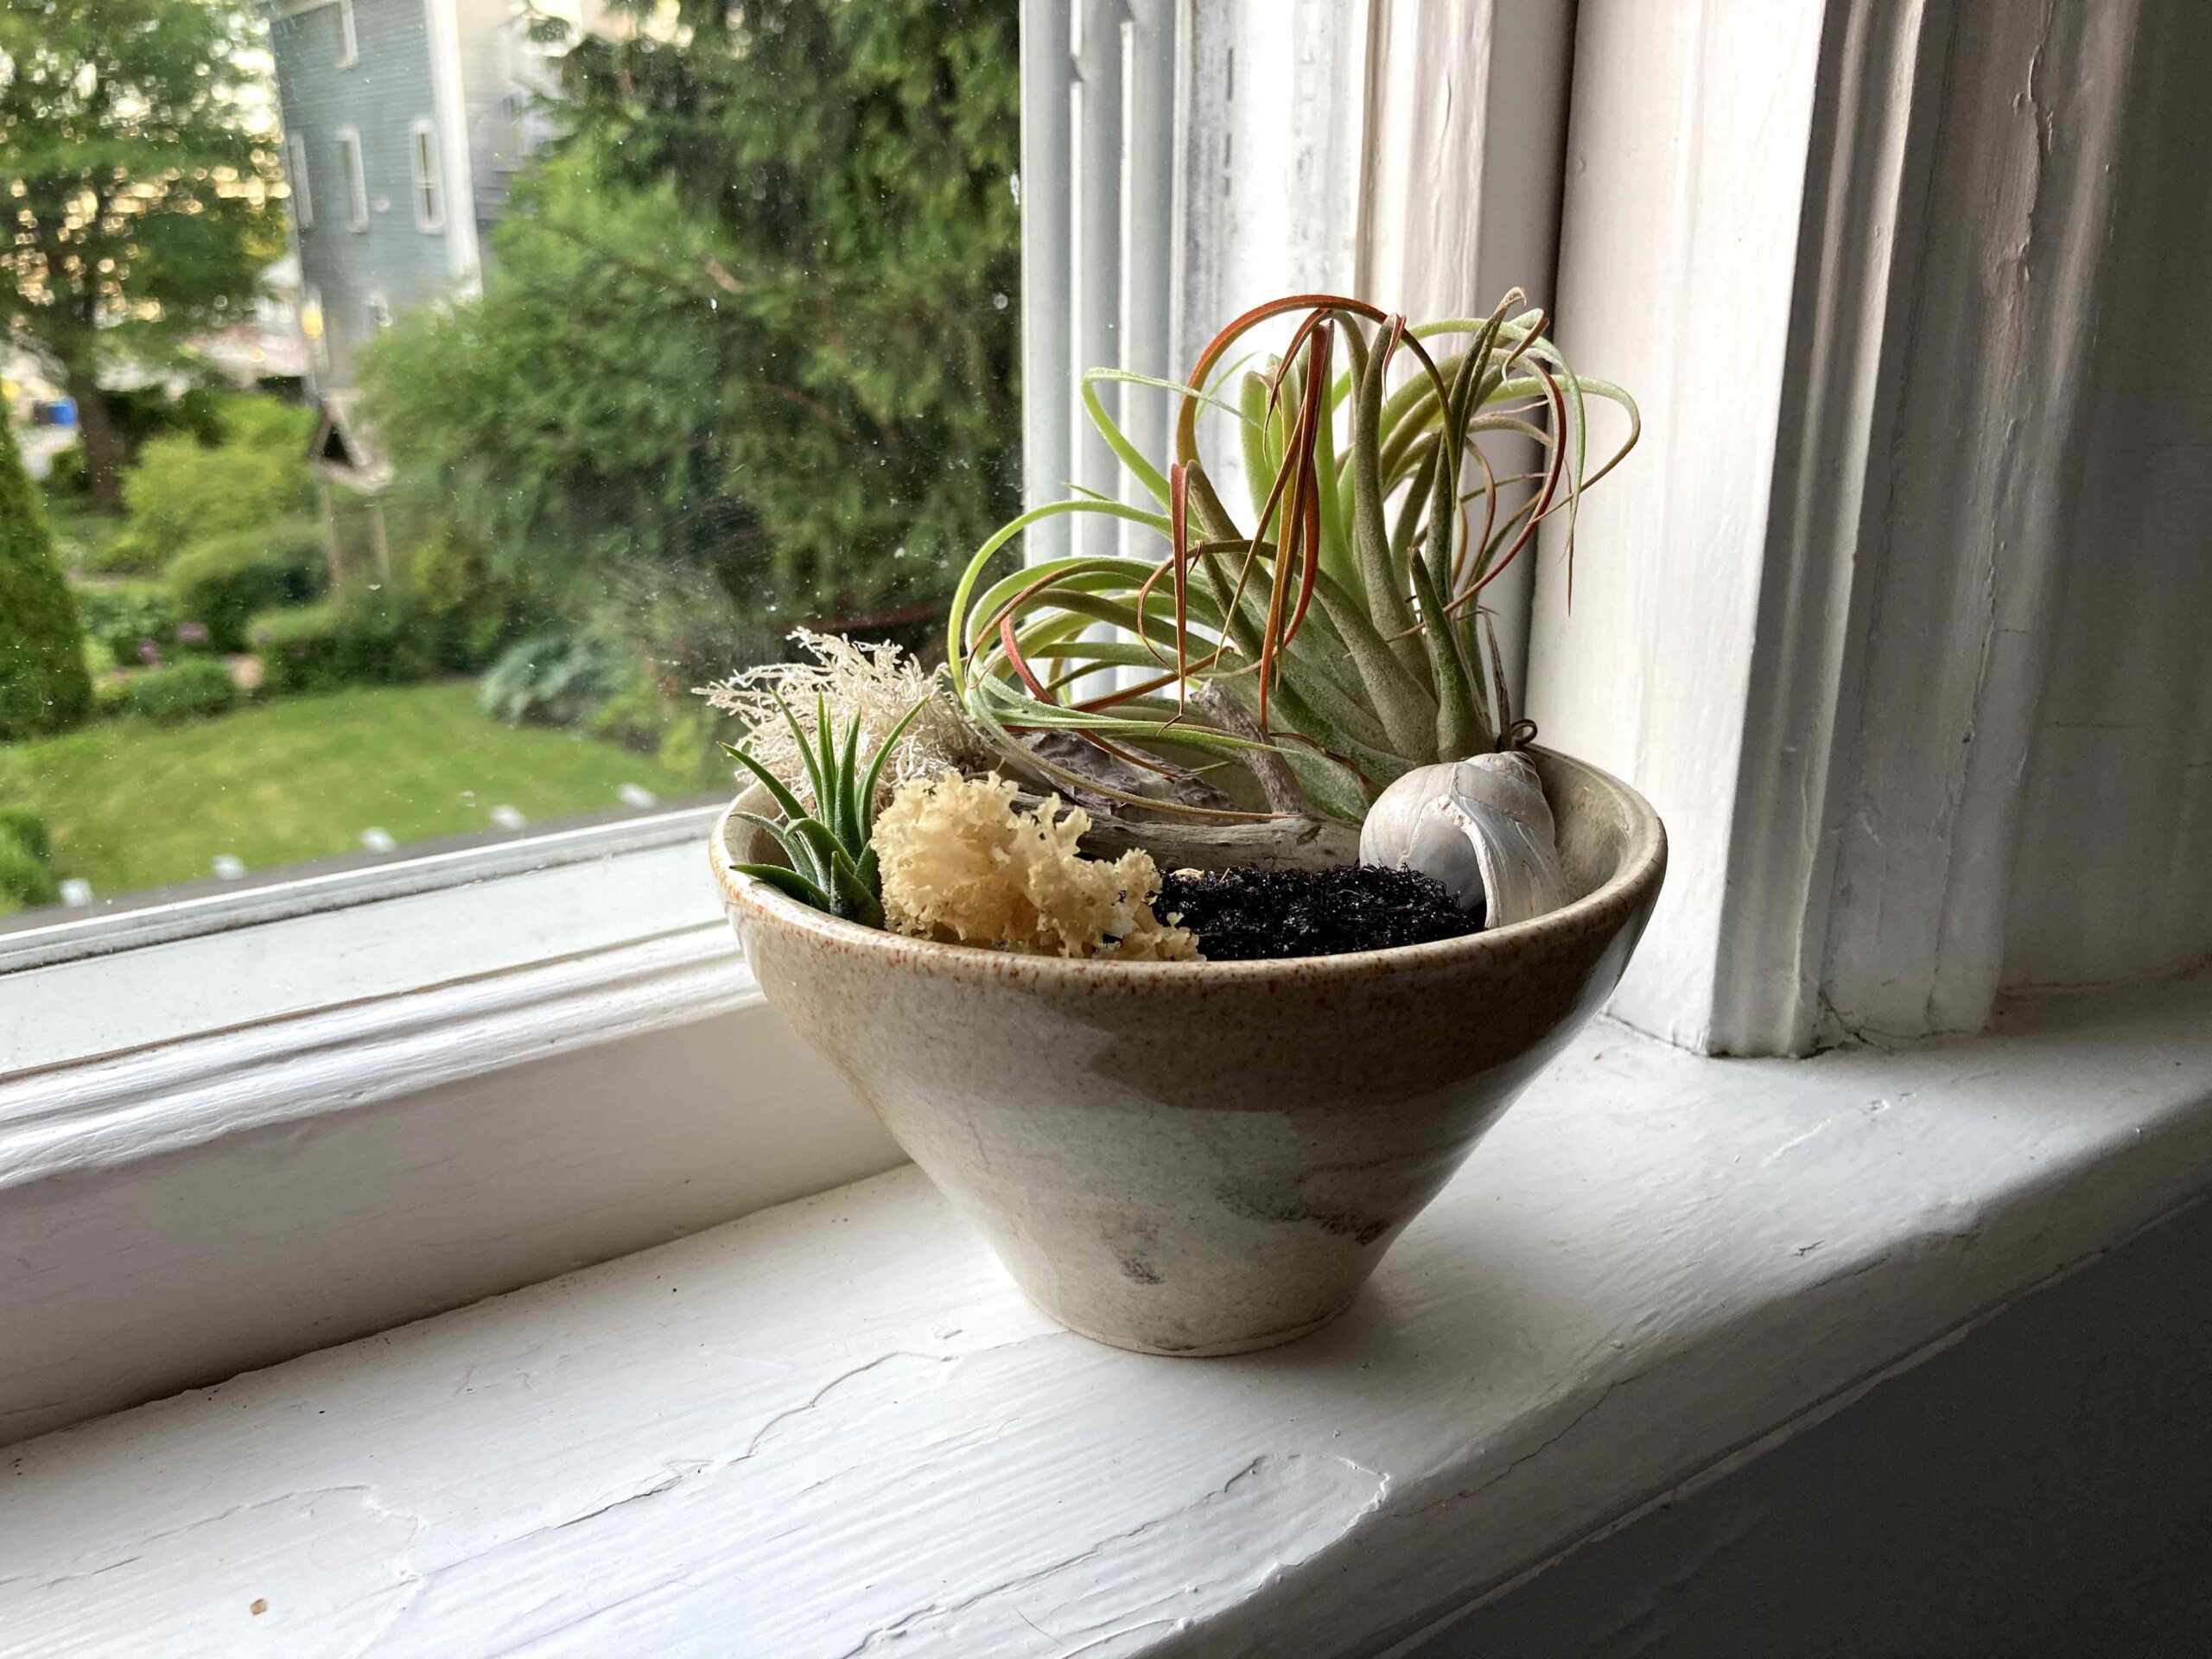
Add your plant(s). I’m using two air plants called Tillandsia Ionantha. They are native to South and Central America. They don’t require soil to grow (hence the name) and only need to be watered once a week with a 20 minute soak (removed from the terrarium). They prefer bright but indirect sunlight, making them great house plants. They can be found at most garden centers or ordered online for just a couple of dollars each. When well cared for they will last for years. They may even occassionally flower and propogate.
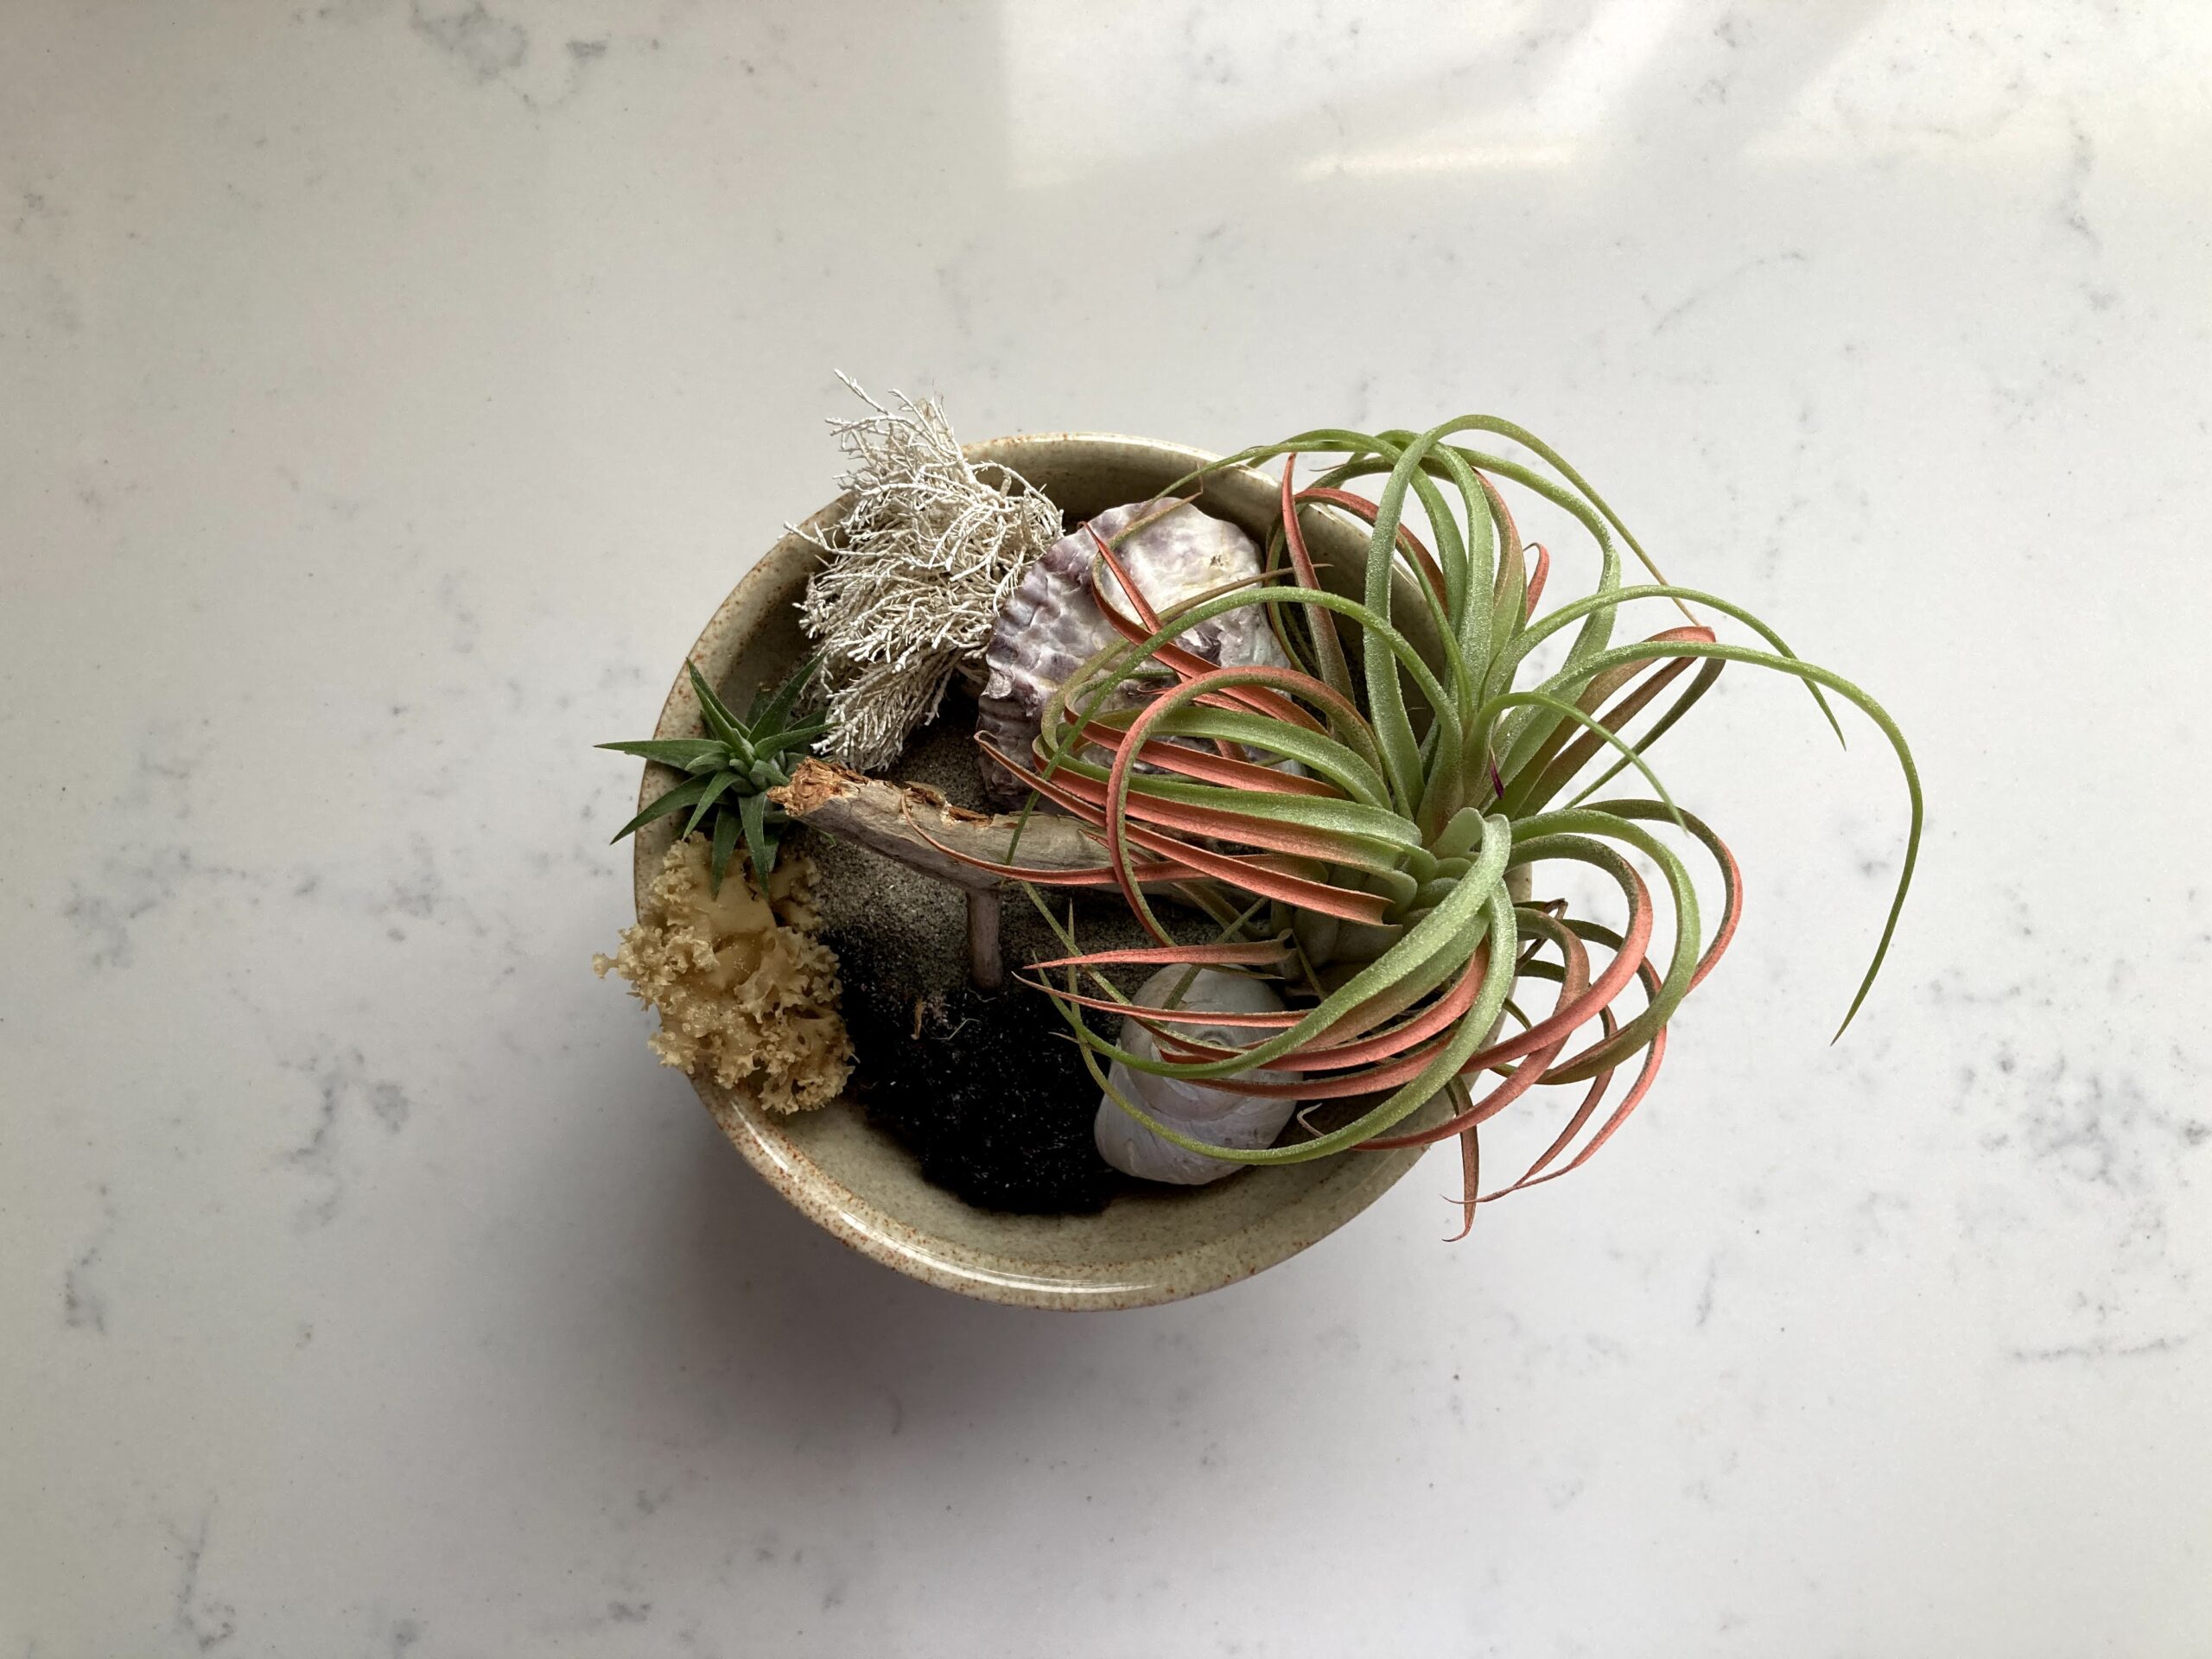
That’s all there is to it! Find a bright spot to display your new work and don’t forget to water your plants.
