Botanical Watercolor Tutorial
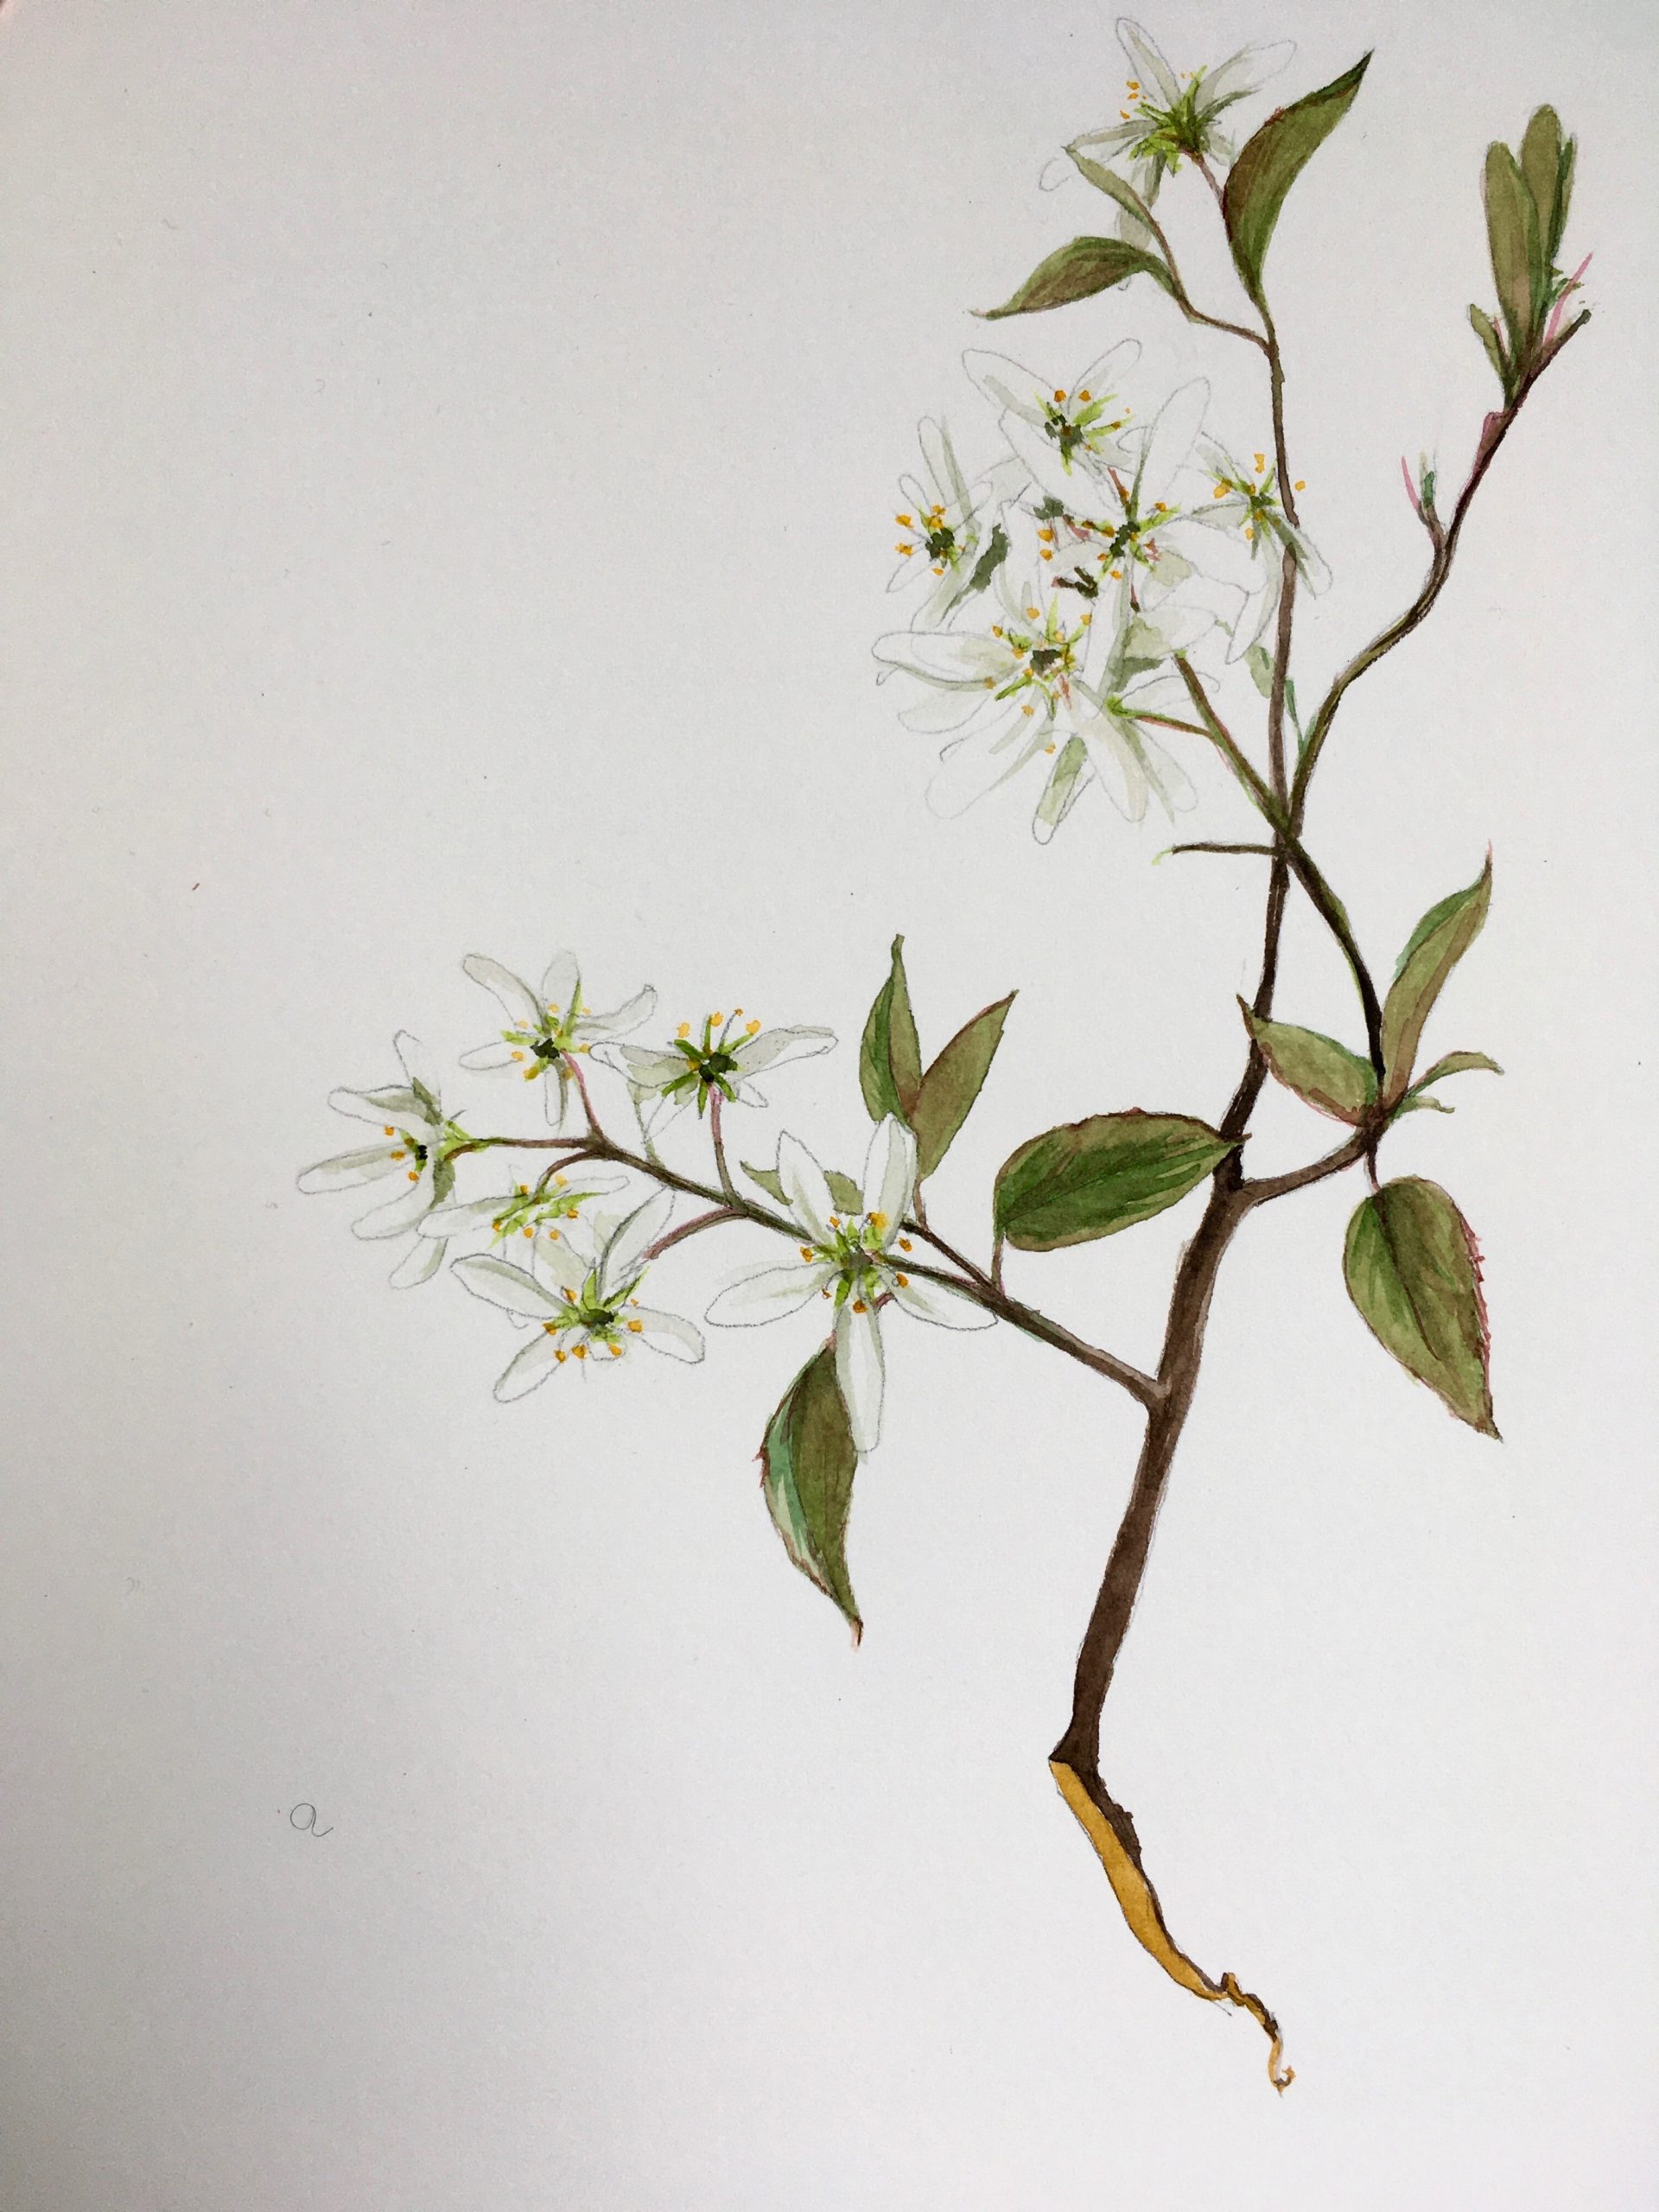
Arts and Ed Programs Manager, Erin, here. Greetings from my home “office.” Since we can’t be together, I’ll be sharing some activities and tutorials with you on our website to get you both outside in nature and creating at home. Today I am sharing the botanical watercolor I recently made after visiting our meadow at the Ipswich Museum, which is open to walkers. If you’re in the area, please come by to see what is blooming and of course practice social distancing while you’re at it. If you have any questions you can reach me at educator@ipswichmuseum.org. I’d love to hear from you, and if you end up doing any of these tutorials, I’d love to see what you’ve made!
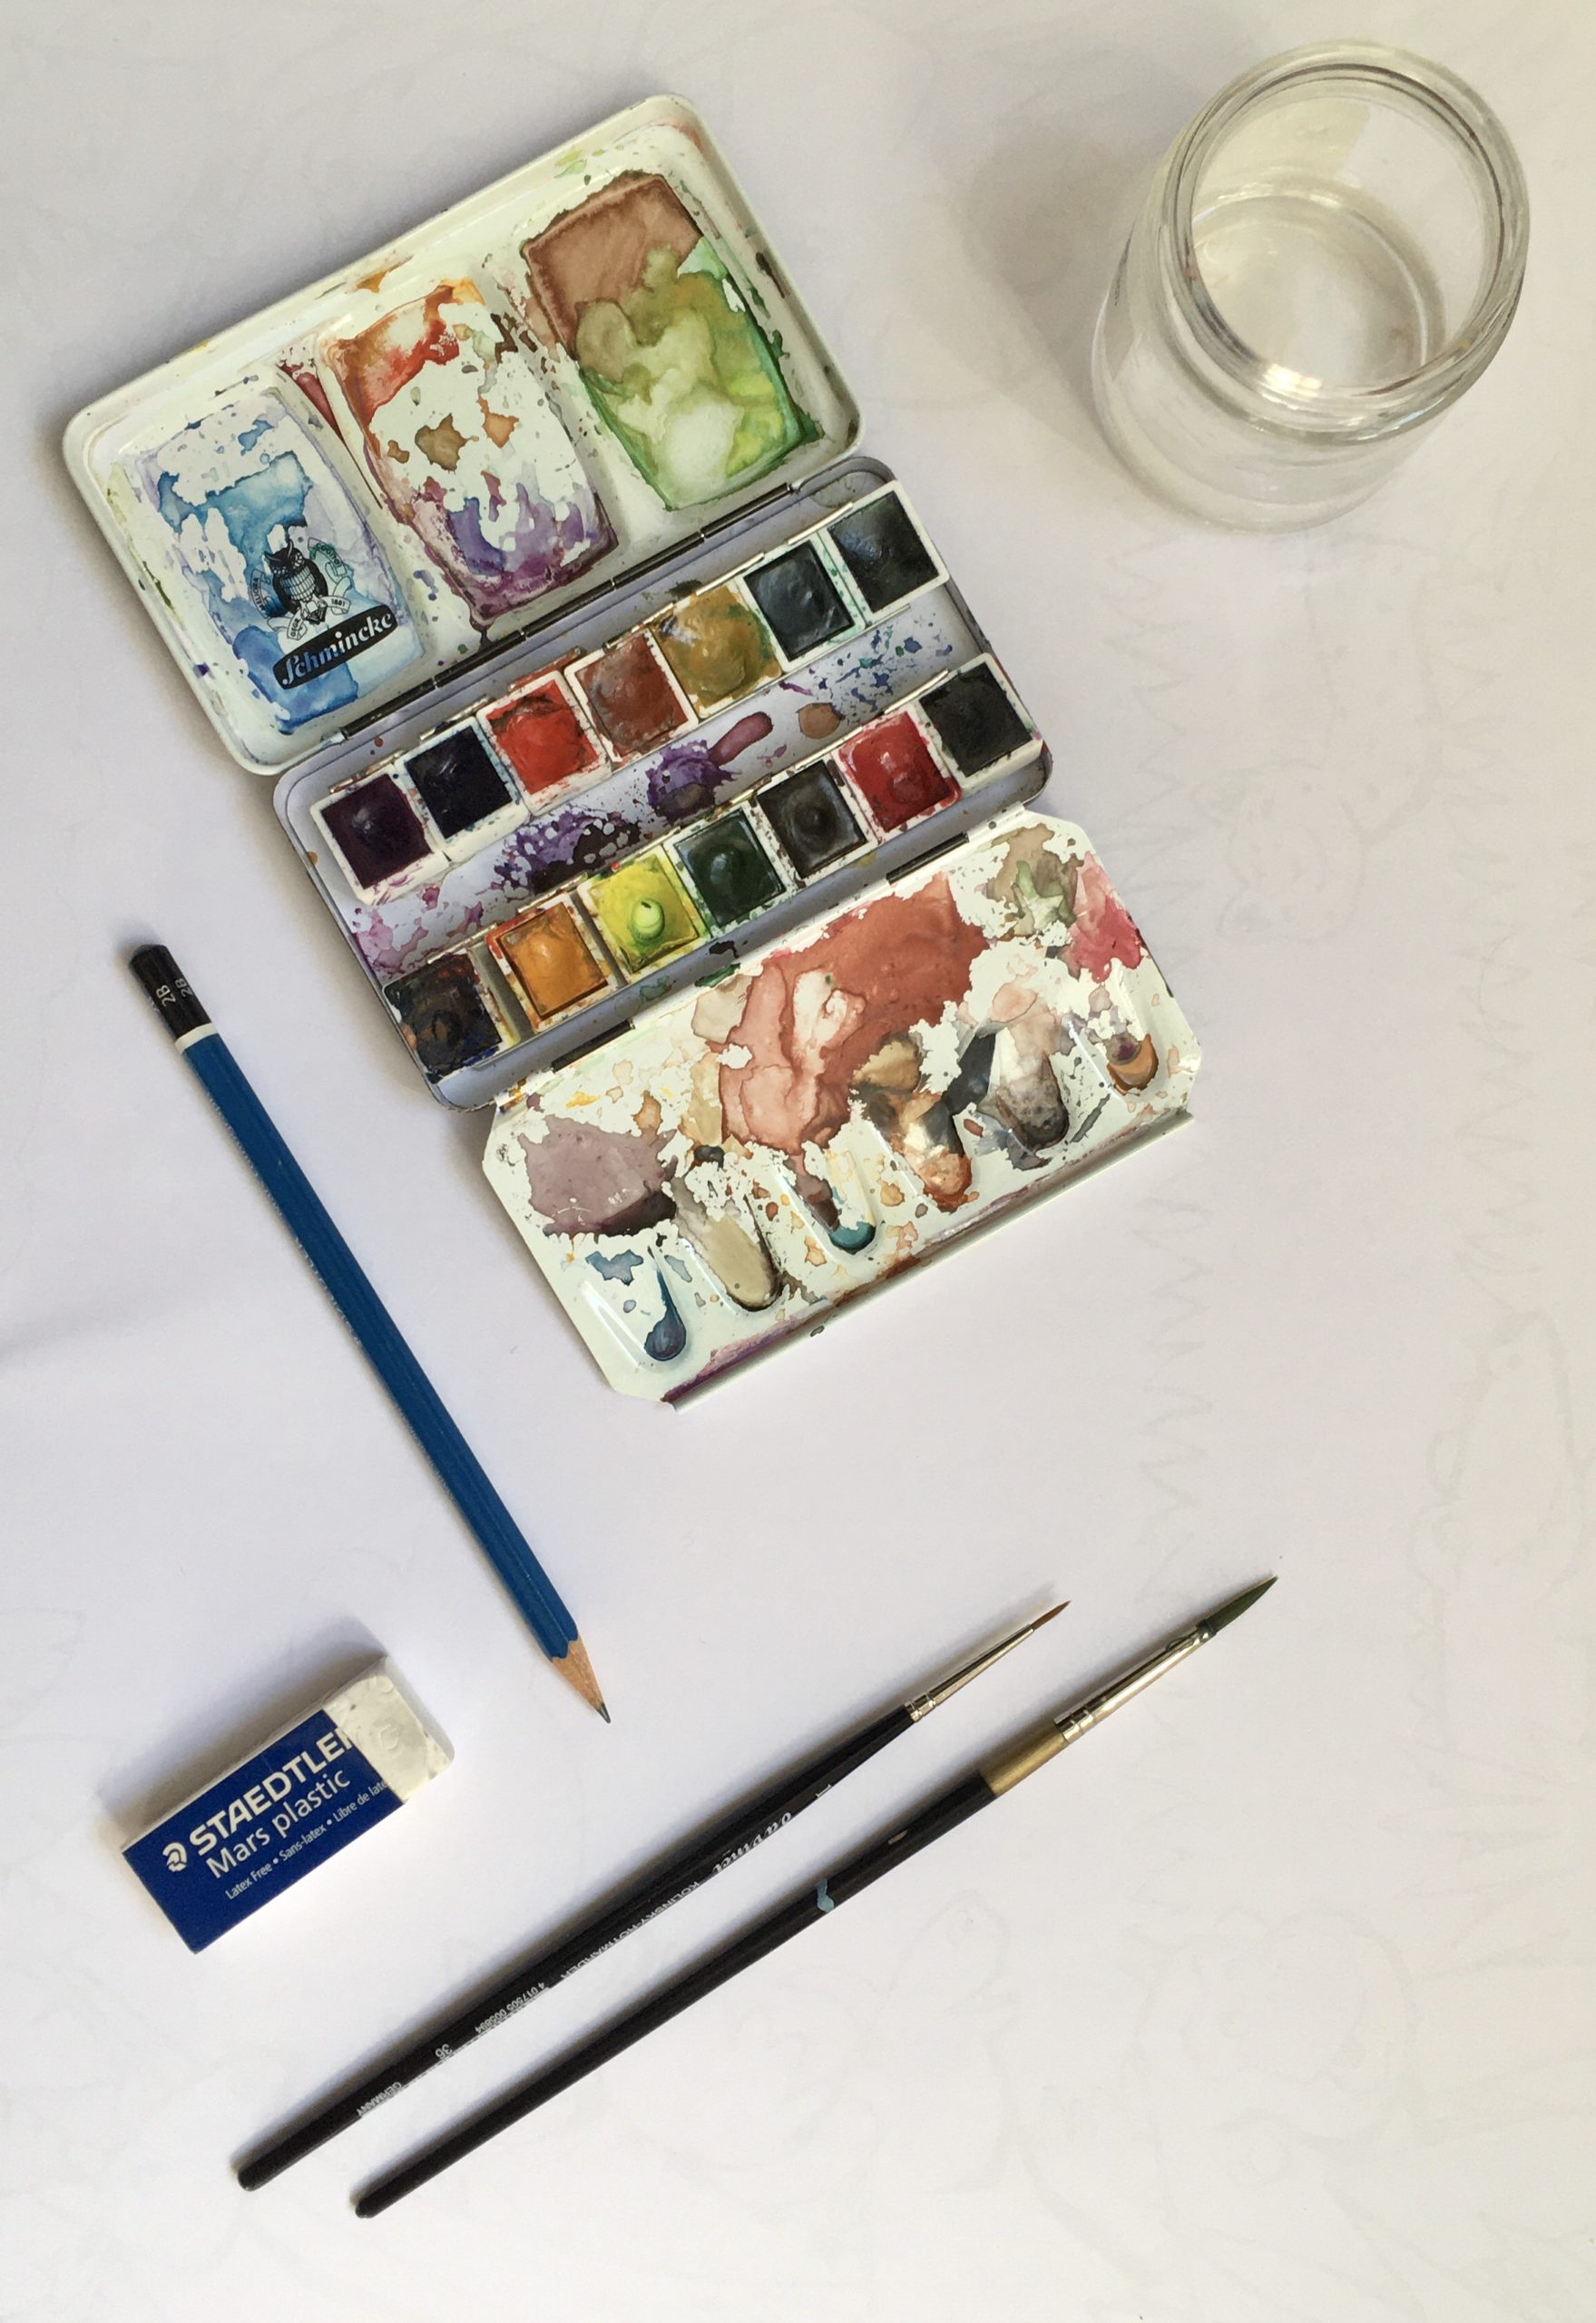
To begin you will need the following supplies:
- watercolor set (dried watercolors are best because they can go with you into nature. We used a Schmincke 14 color set. Any brand will do, but the better quality your paints, the richer your colors will be)
- brushes (we used size 1 and 5 with rounded tips)
- pencil (preferably HB, but any will do)
- eraser
- 1 sheet hot press watercolor paper (hot press is a smooth paper, which is better for painting detail than cold press)
- 1 sheet of test paper (plain white computer paper works fine)
- paper towel or rag
- water
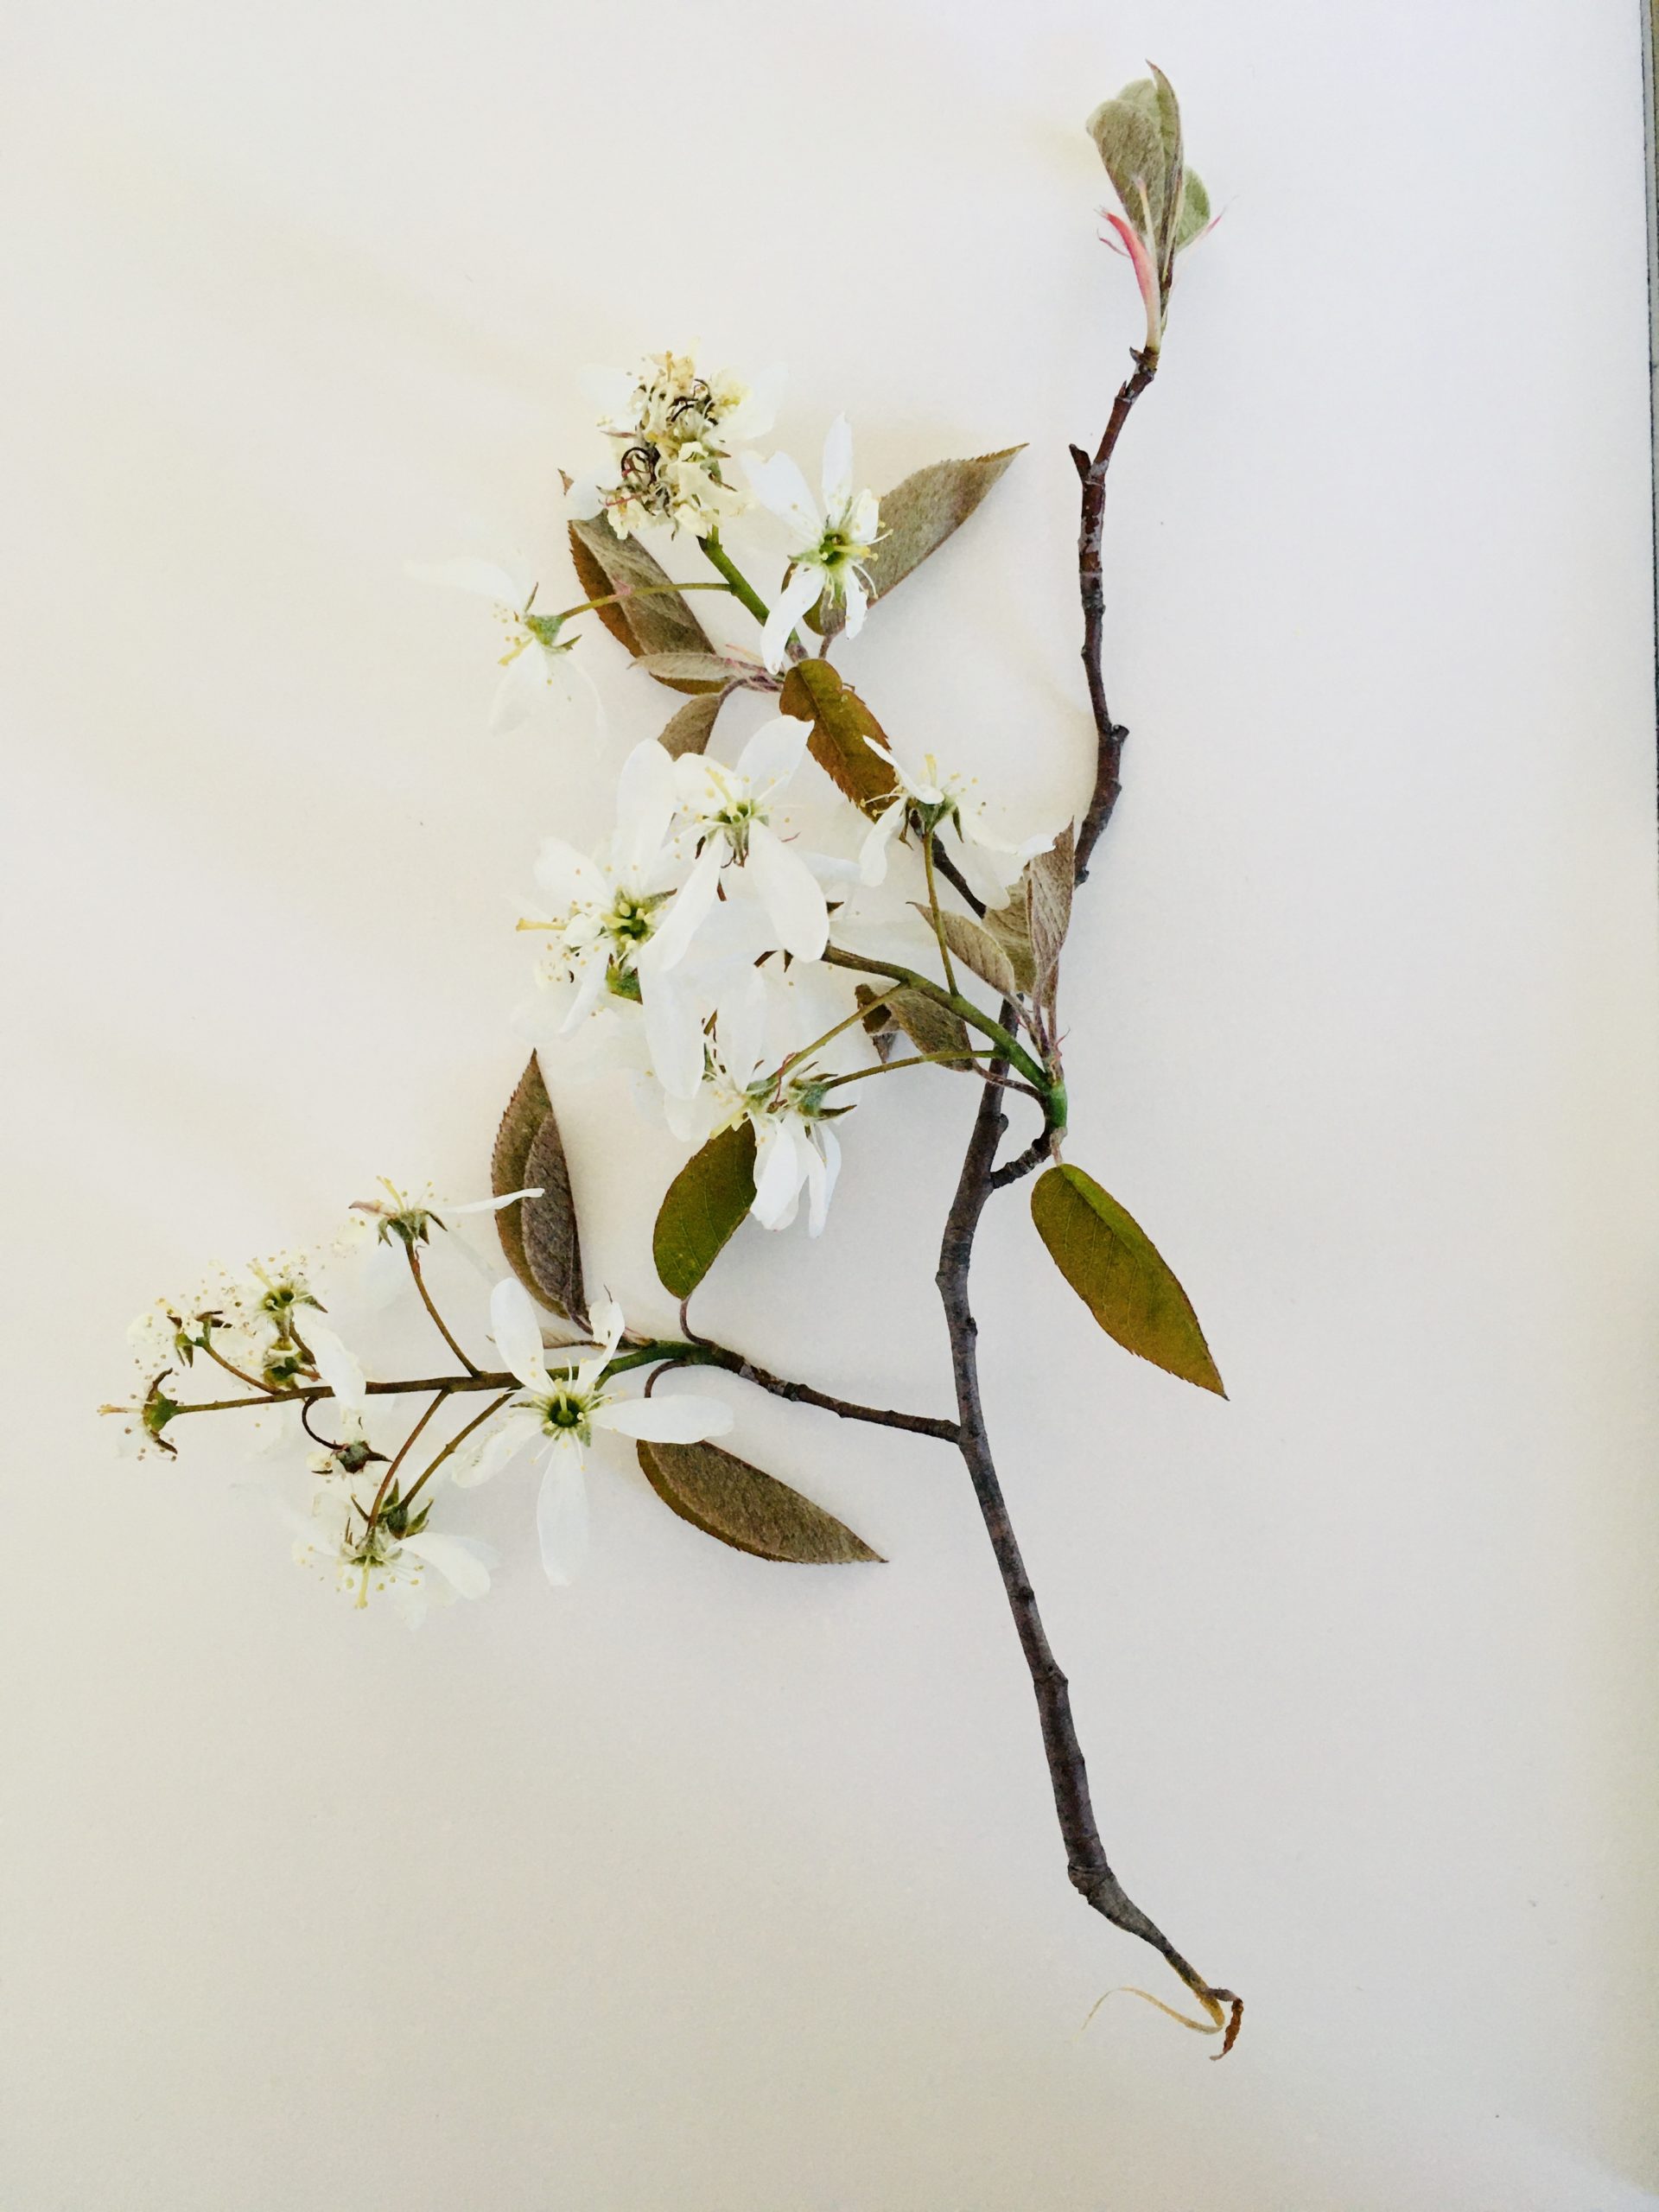
Choose your specimen. Try to get a complete picture of it, choosing a branch that shows leaves, flowers, berries, etc. If you select a small plant from the ground, try to lift it up with the roots intact. Take a minute to study your specimen, turning it in your hands and observing its shapes and colors. Place it in a small, clear vase or cup positioned that you can draw the whole thing without having to hold it.
I’ve chosen a branch of the Shadbush Serviceberry, which is one of the first plants to bloom in the meadow of the Ipswich Museum, making it a vital source of food for pollinating species.
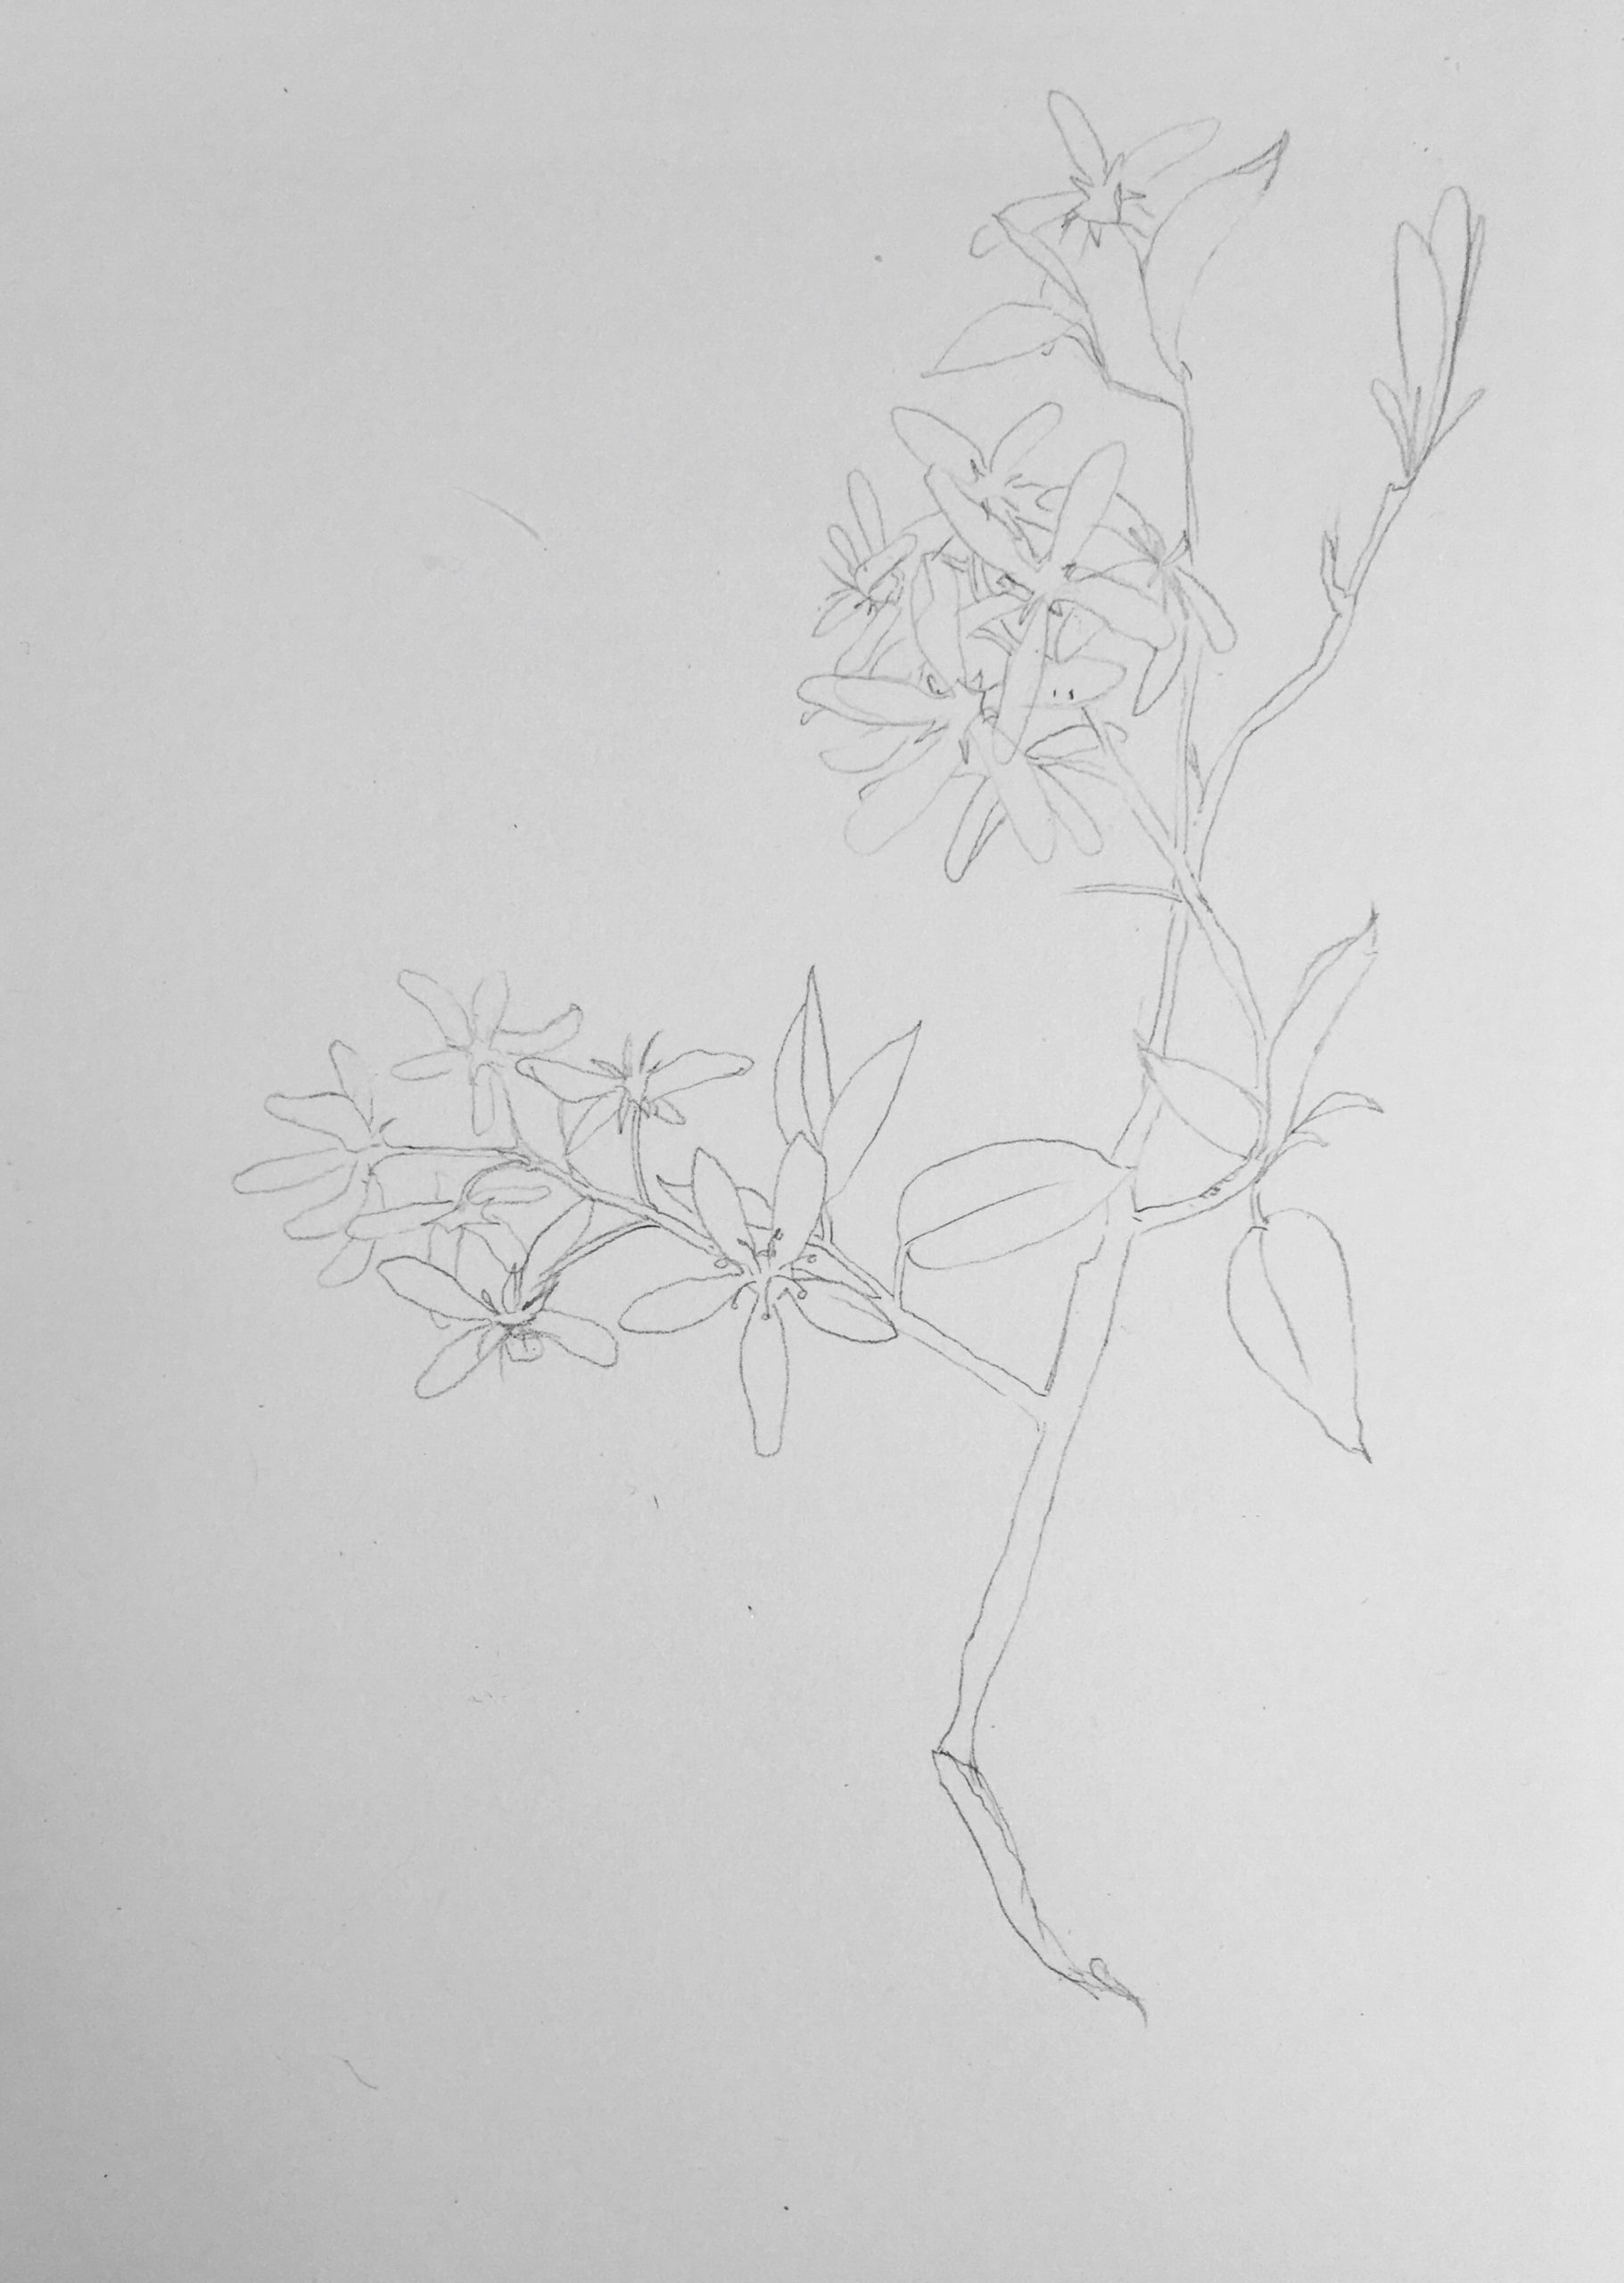
Sketch your specimen. Using a hard leaded pencil like HB, lightly draw your specimen on your watercolor paper. You will be able to erase the pencil markings later. Try to draw the specimen exactly as you see it, paying special attention to the way leaves and petals fold and the way they look as they protrude or recede into space. This will help give the appearance of volume in your final piece.
As you prepare to paint remember that unlike acrylics or oils that build up to the lightest layer, watercolor works the opposite way: your lightest colors are applied first. Some areas of the painting that are very bright or white might be left unpainted. My specimen has white flowers, so some parts of the petals will be unpainted where the light hits them.
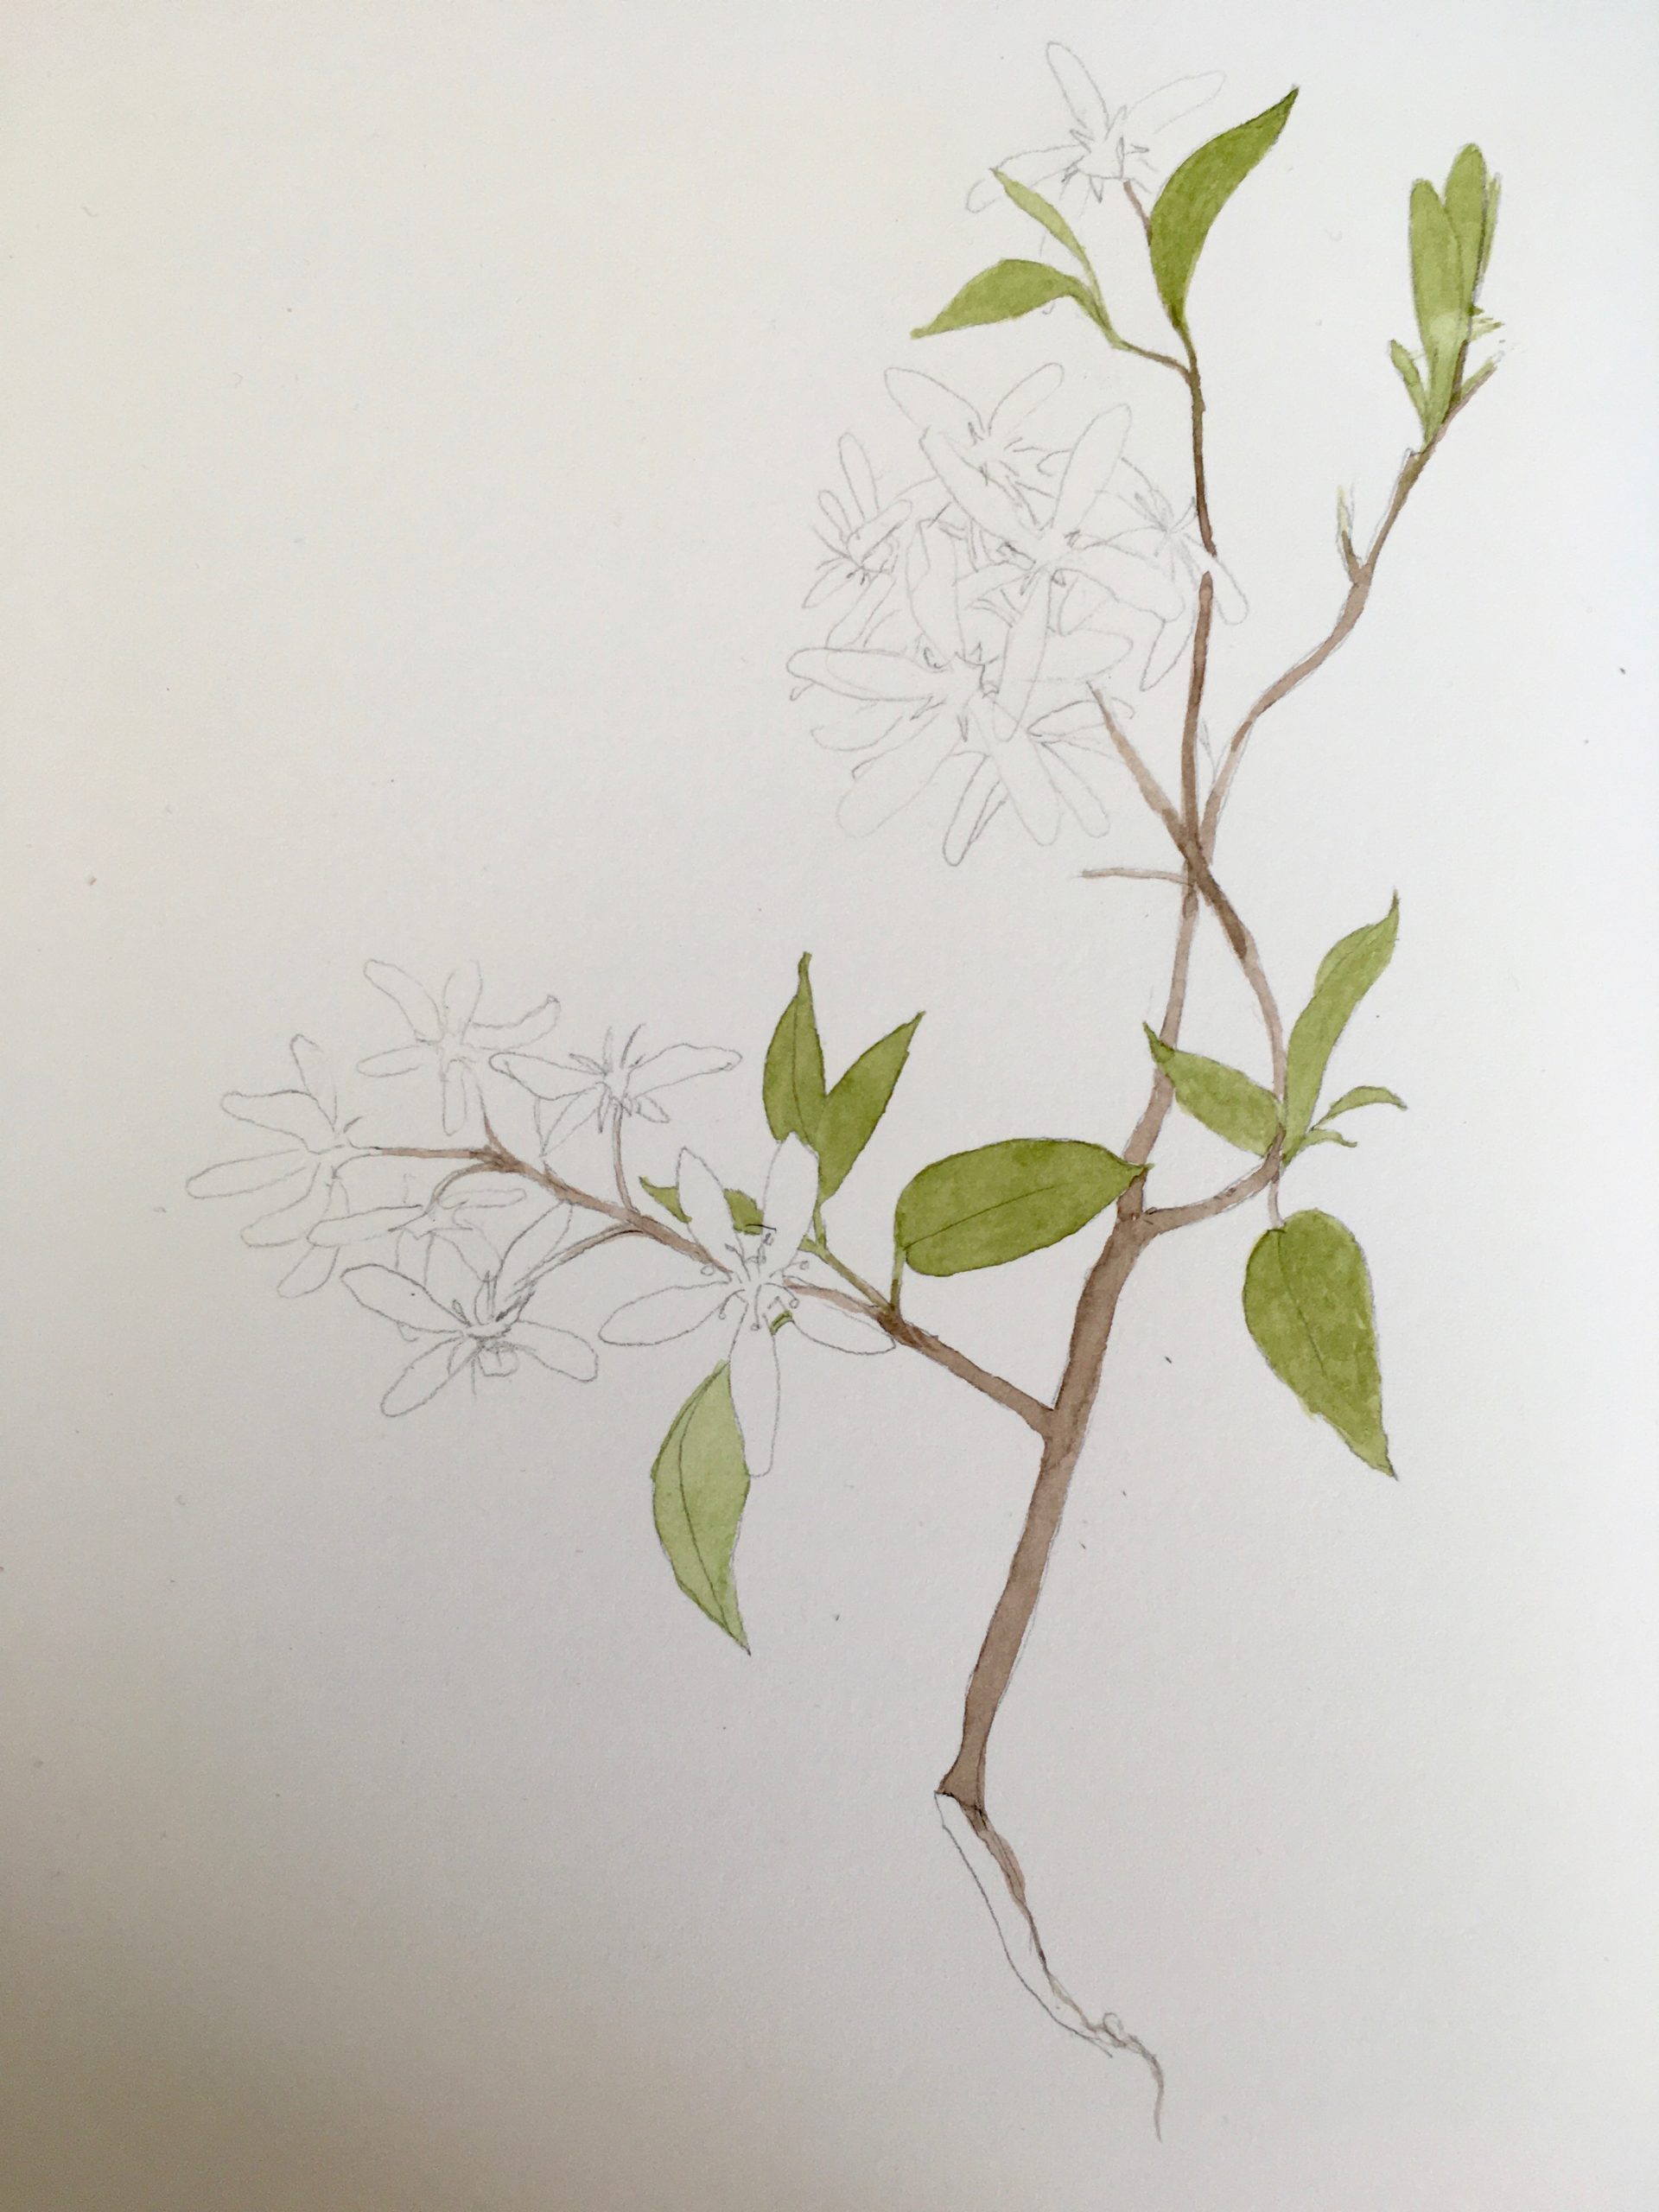
Create a flat wash. This is the first layer of paint applied to your piece. First thing you need to do is create enough paint to cover the entire painted surface. In other words, mix enough green pigment to color in all leaves and green stems, enough brown for the twig, and so on. Apply a few drops of water directly onto the pigments you need, then use your brush to lift the color onto the palette, adding water as you go. When you have enough of the right color you are ready to begin painting. If you aren’t sure if you have enough, mix a bit more. Even if you have too much, it won’t go to waste since the pigment that dries on the palette can be reused later by adding water.
Wet your brush with paint, start at one end of a leaf and drag the tiny pool of pigment across the entire leaf until it is completely painted. Don’t let the pool sit anywhere too long. You are aiming for a uniform layer of color across the entire area. You will add additional layers and color later for depth and detail. If you find there is too much paint by the time you reach the end of the leaf, dry your brush on the paper towel and soak up the excess paint with it, moving on immediately to the next leaf.
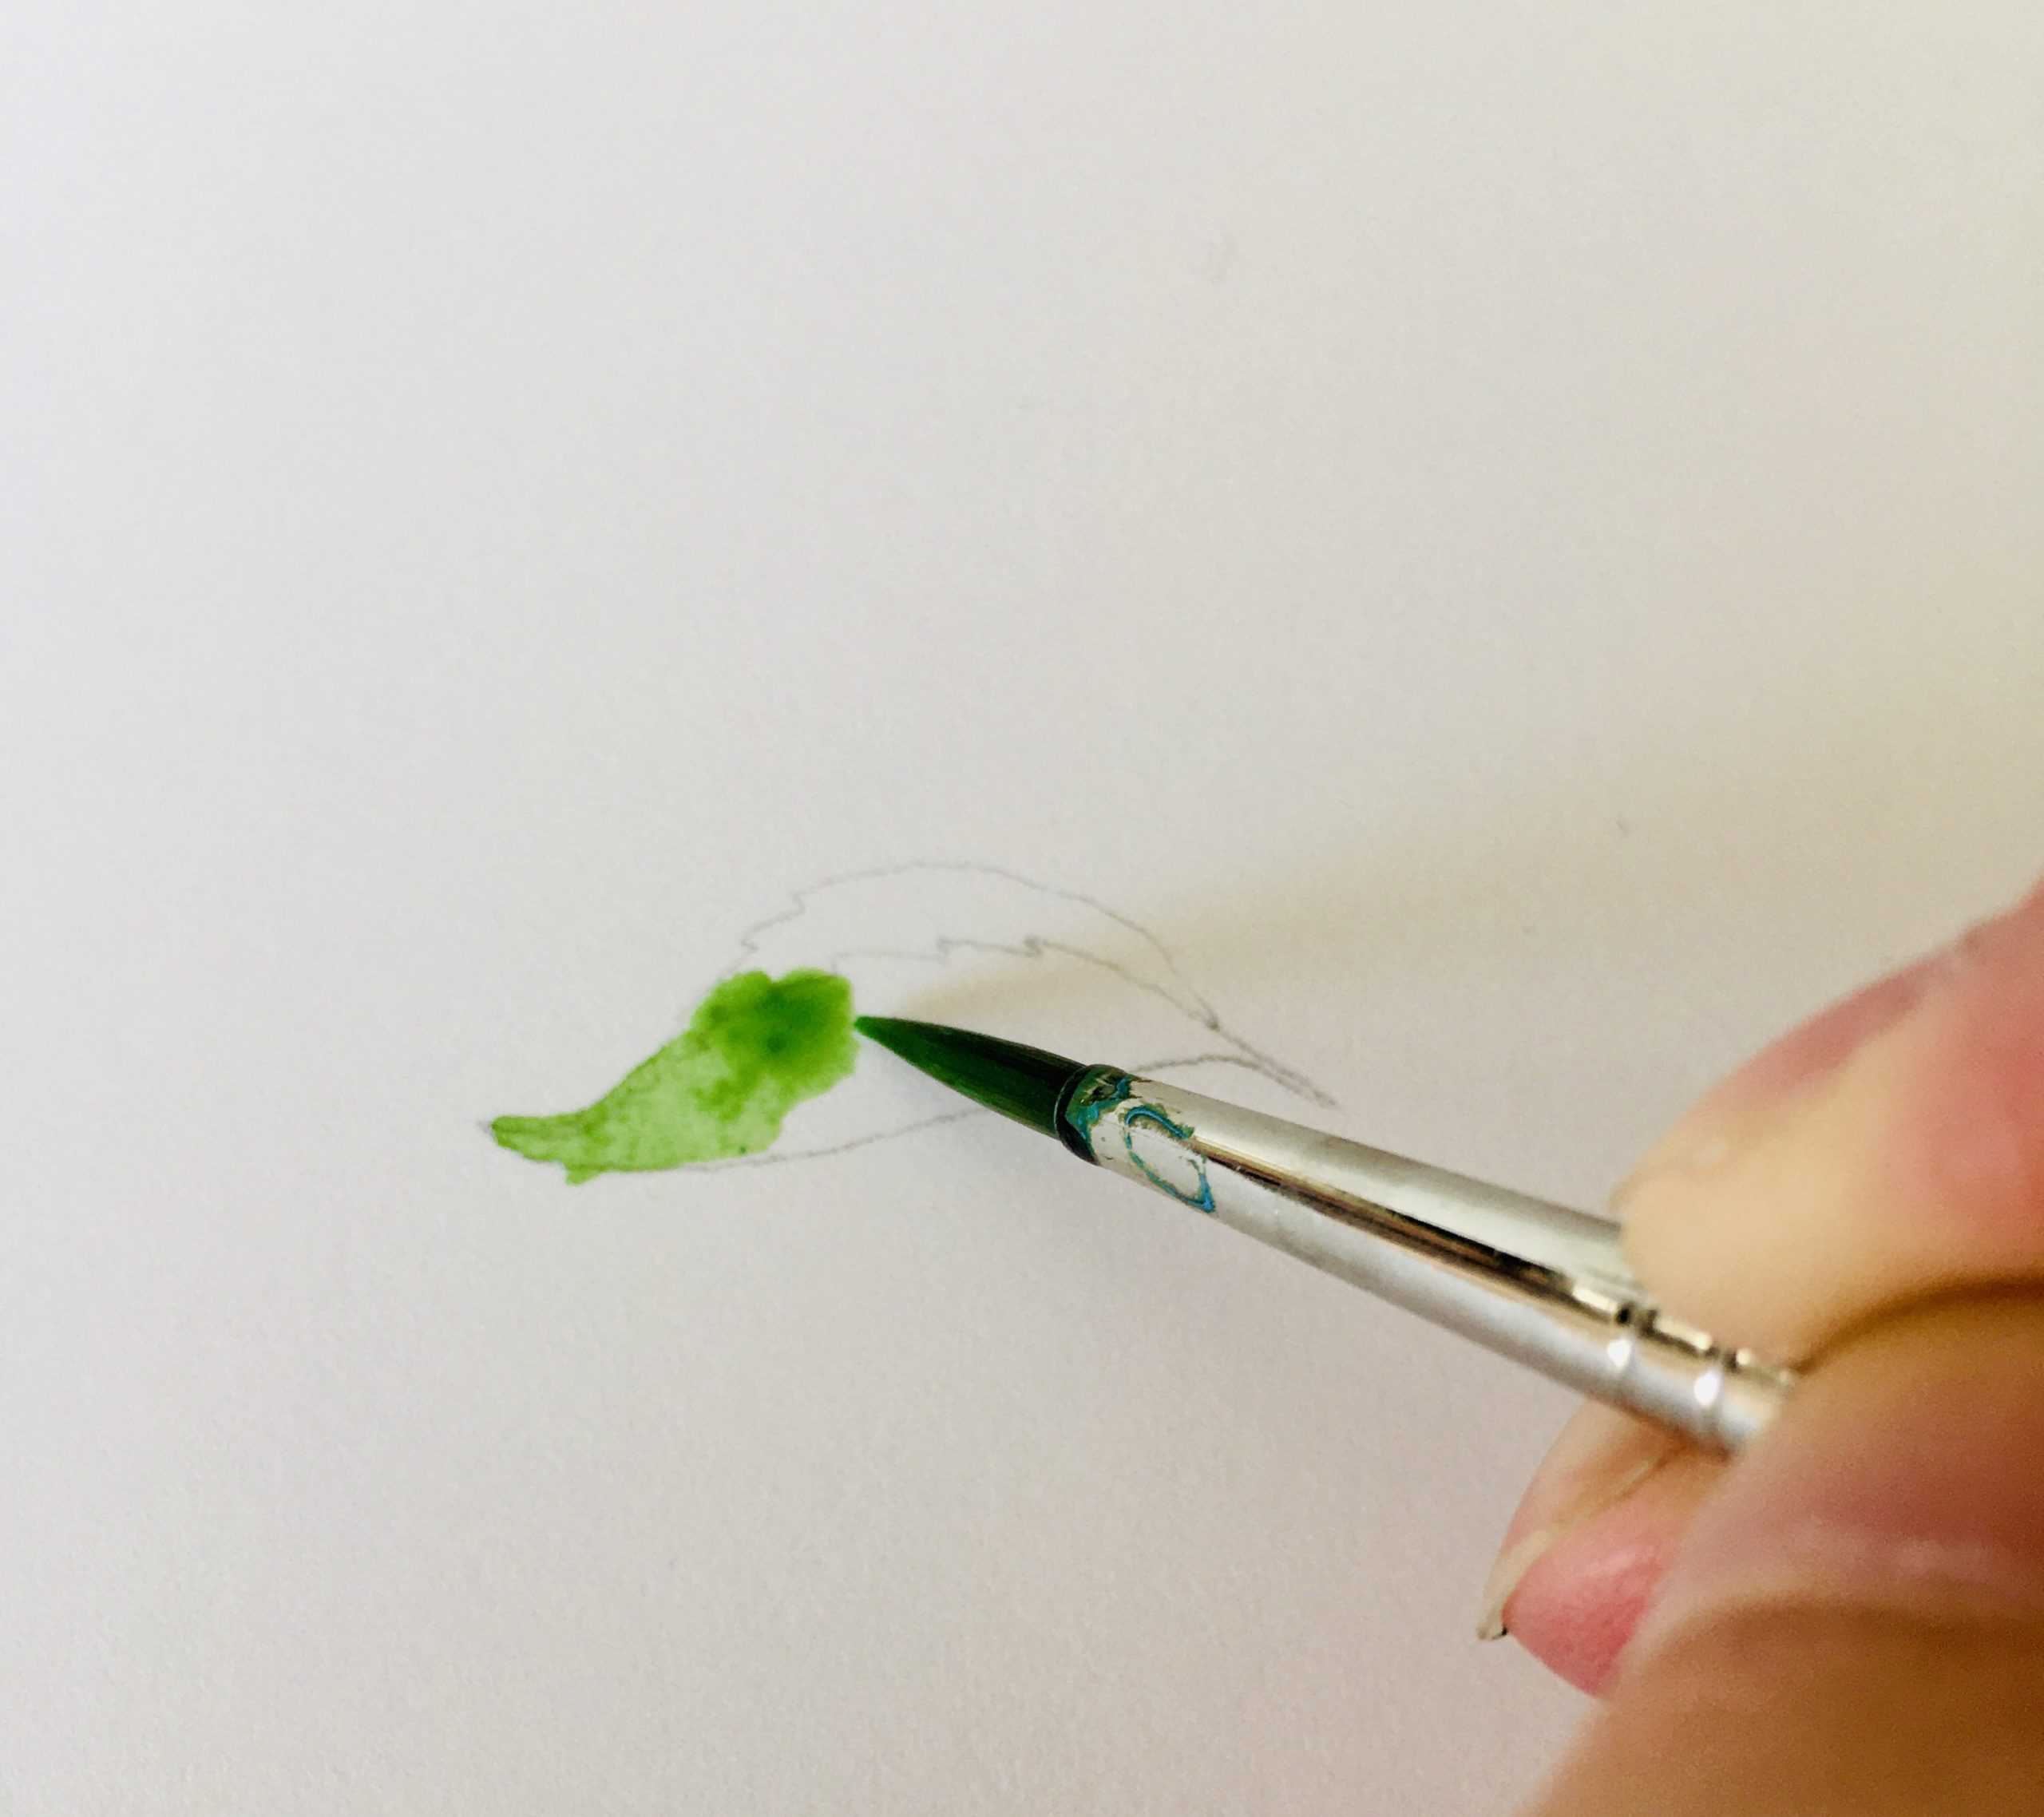
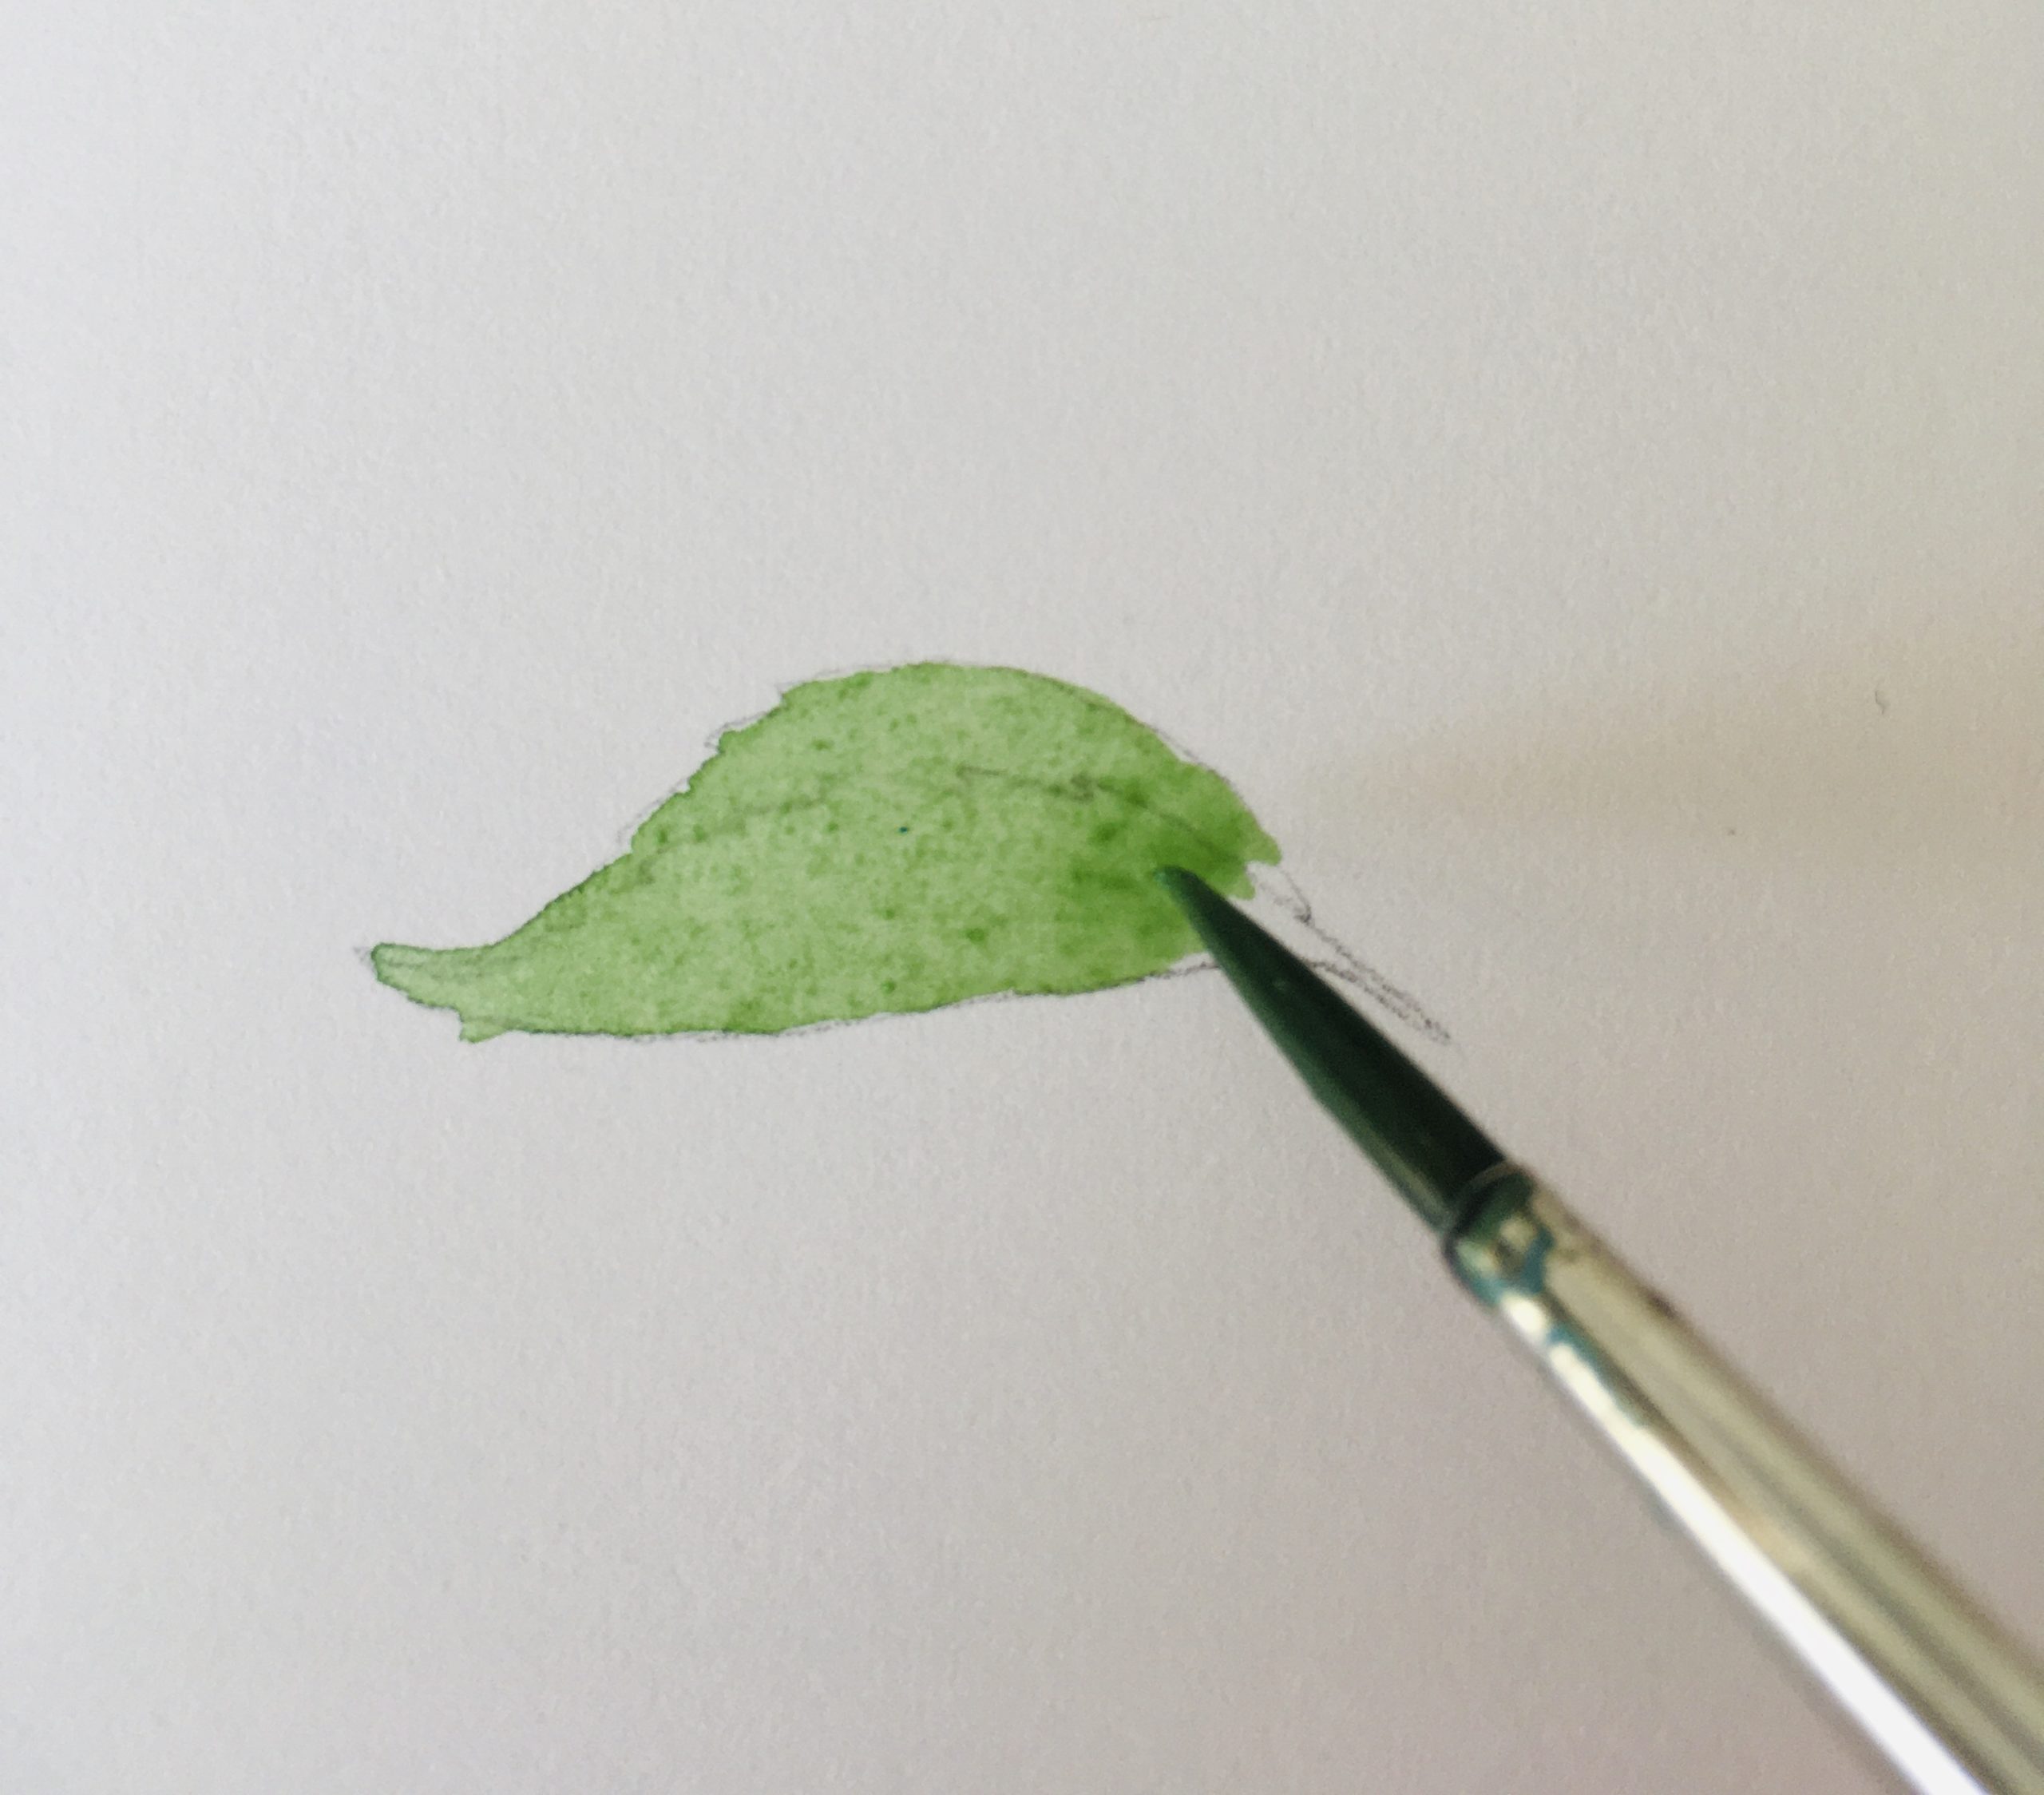
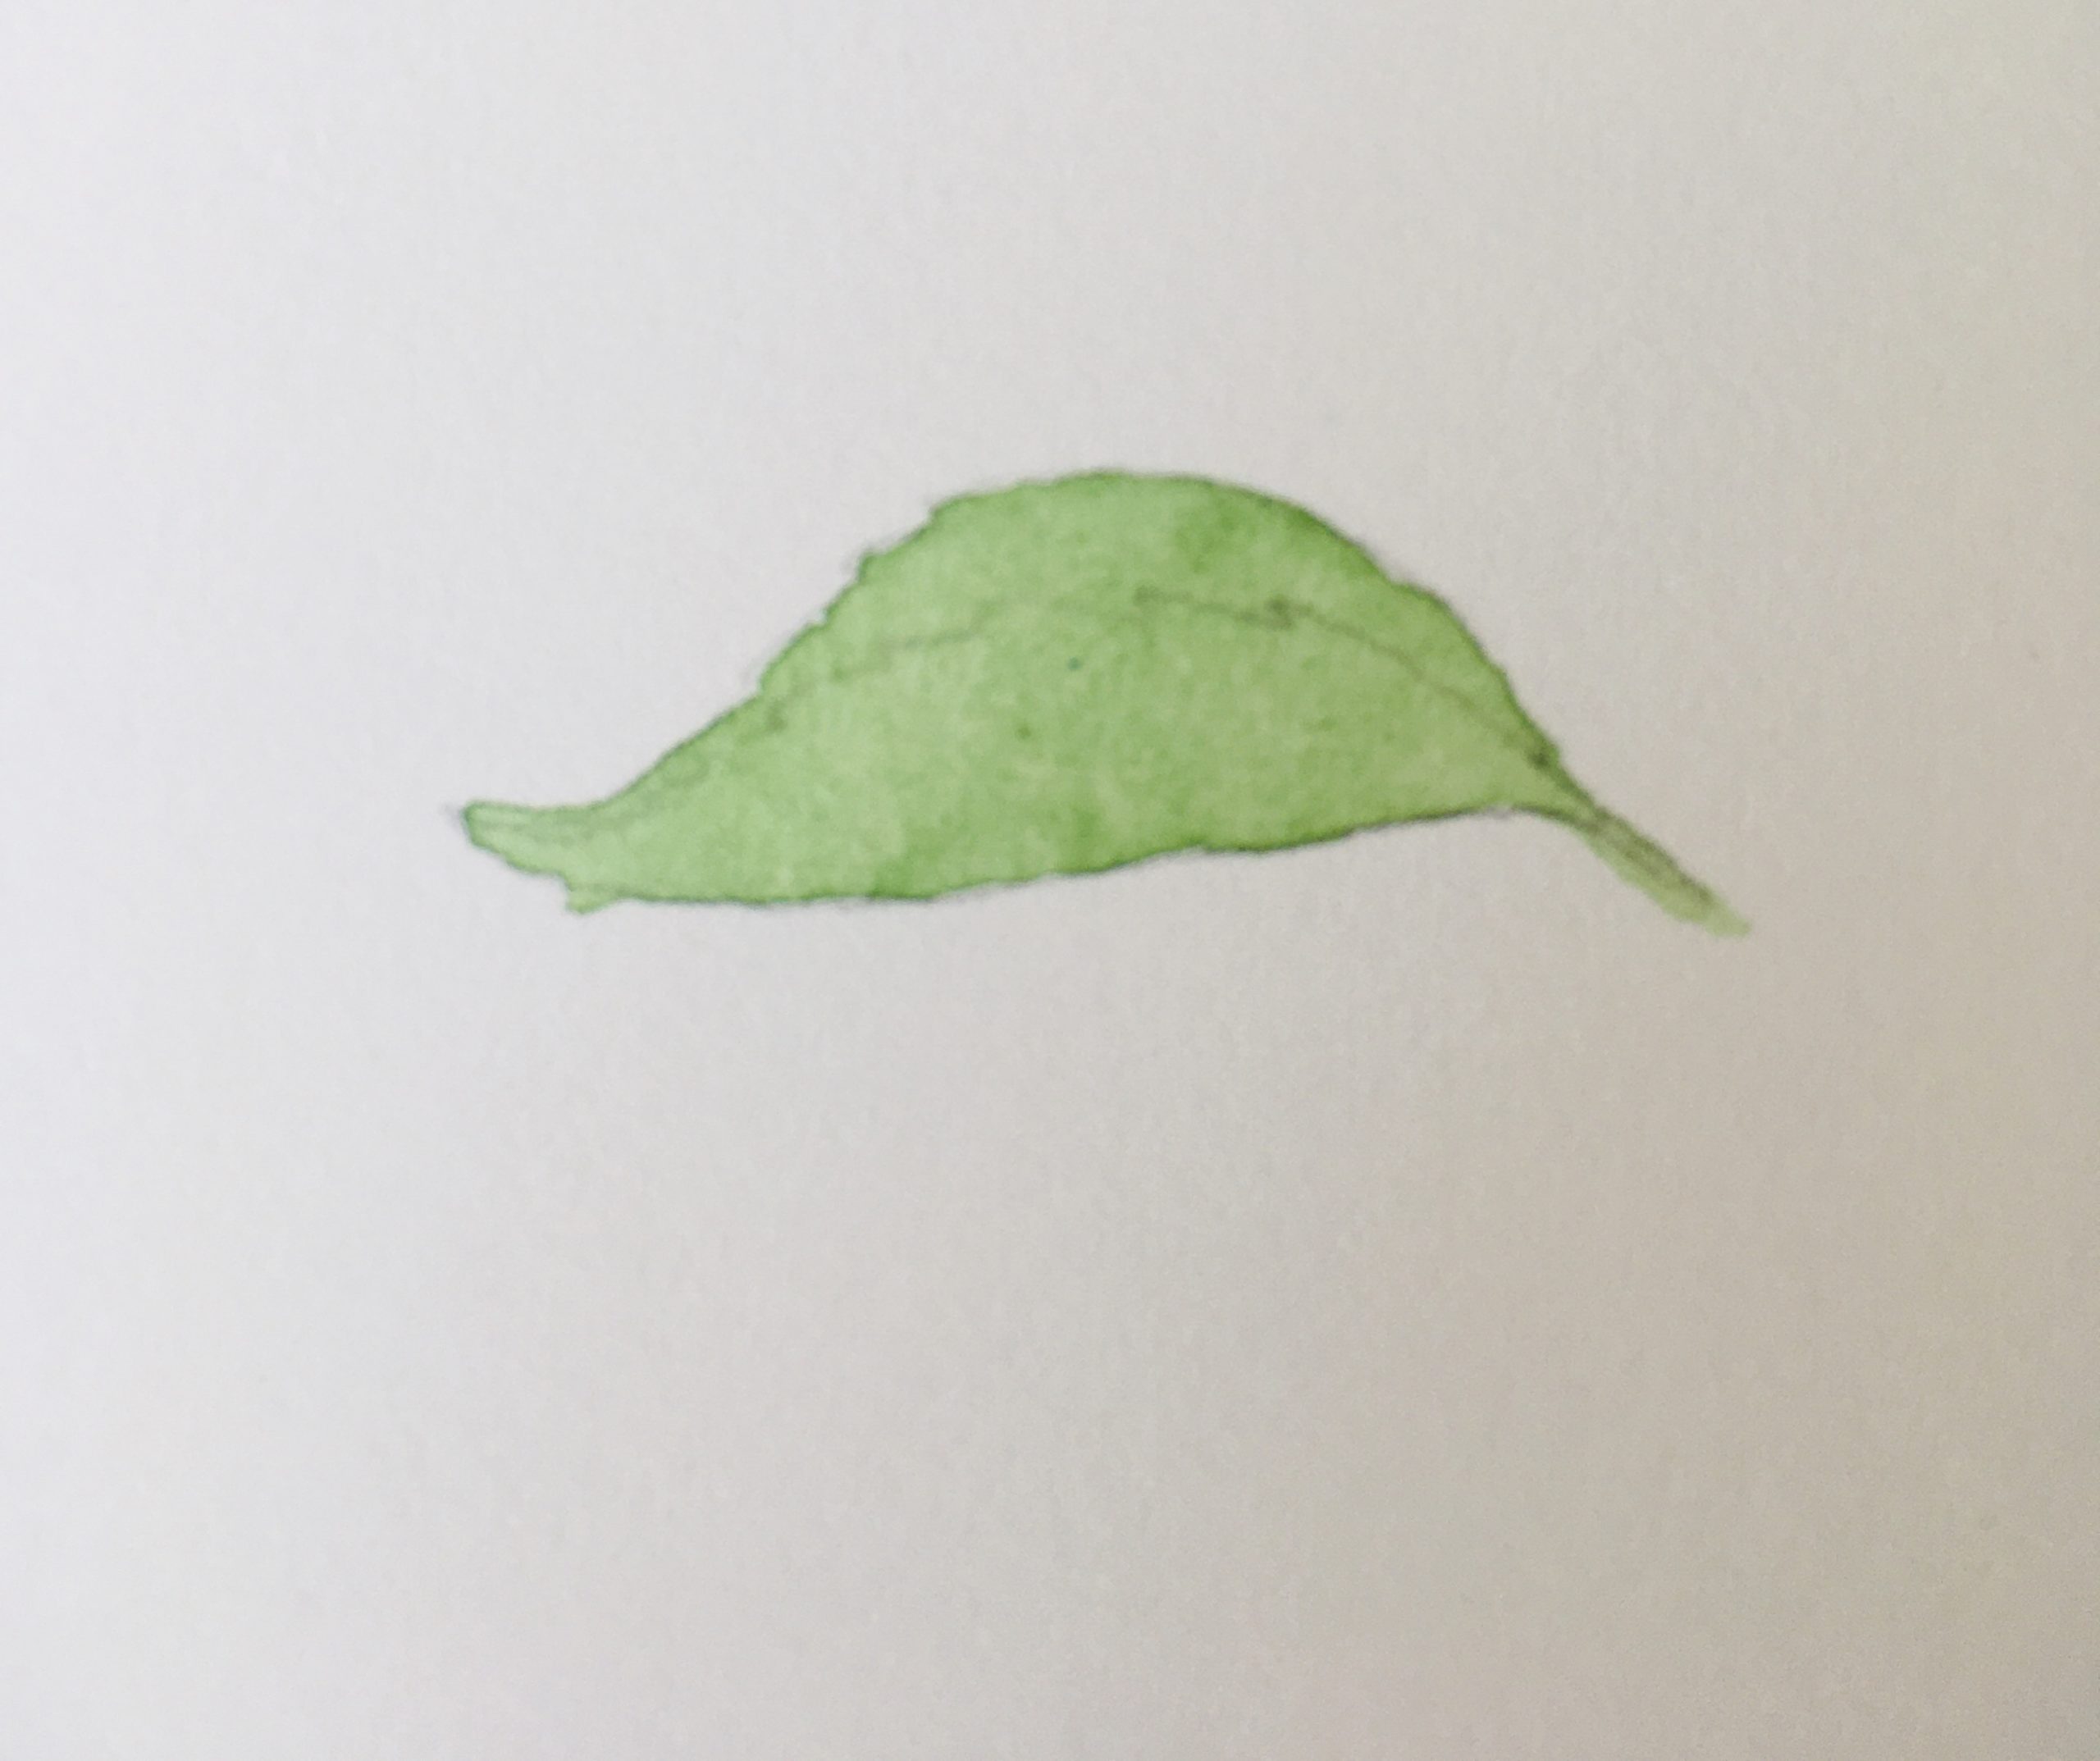
Allow the flat wash to dry completely. When it is dry mix the next layer of color. You might start by mixing a deeper shade of green and only painting the parts of the leaves in shadow, or if your leaves have different colors on either side, mix paints to correspond with those colors and begin applying the paint in the same technique as the flat wash, but in selective places. Remember to spare the lightest part of the leaf from these additional layers. Repeat these steps 1-3 more times until each part of the plant achieves depth through layers of color and shading.
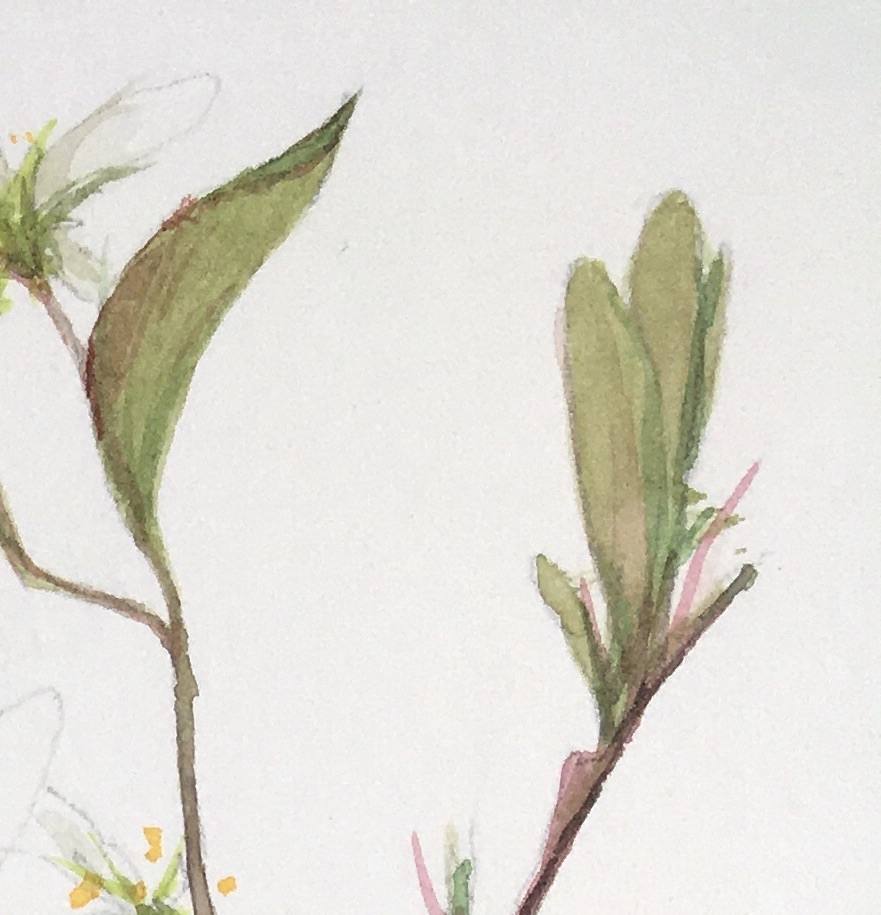
In the example to the right, I’ve used 3 colors to create the leaves: A flat wash of light green, a darker shade of green for the inside and bottoms of the leaves closest to the stem, and a reddish-pink as the final layer, applied as the dark outer edge of one leaf and a light wash for the newer leaves and shoots.
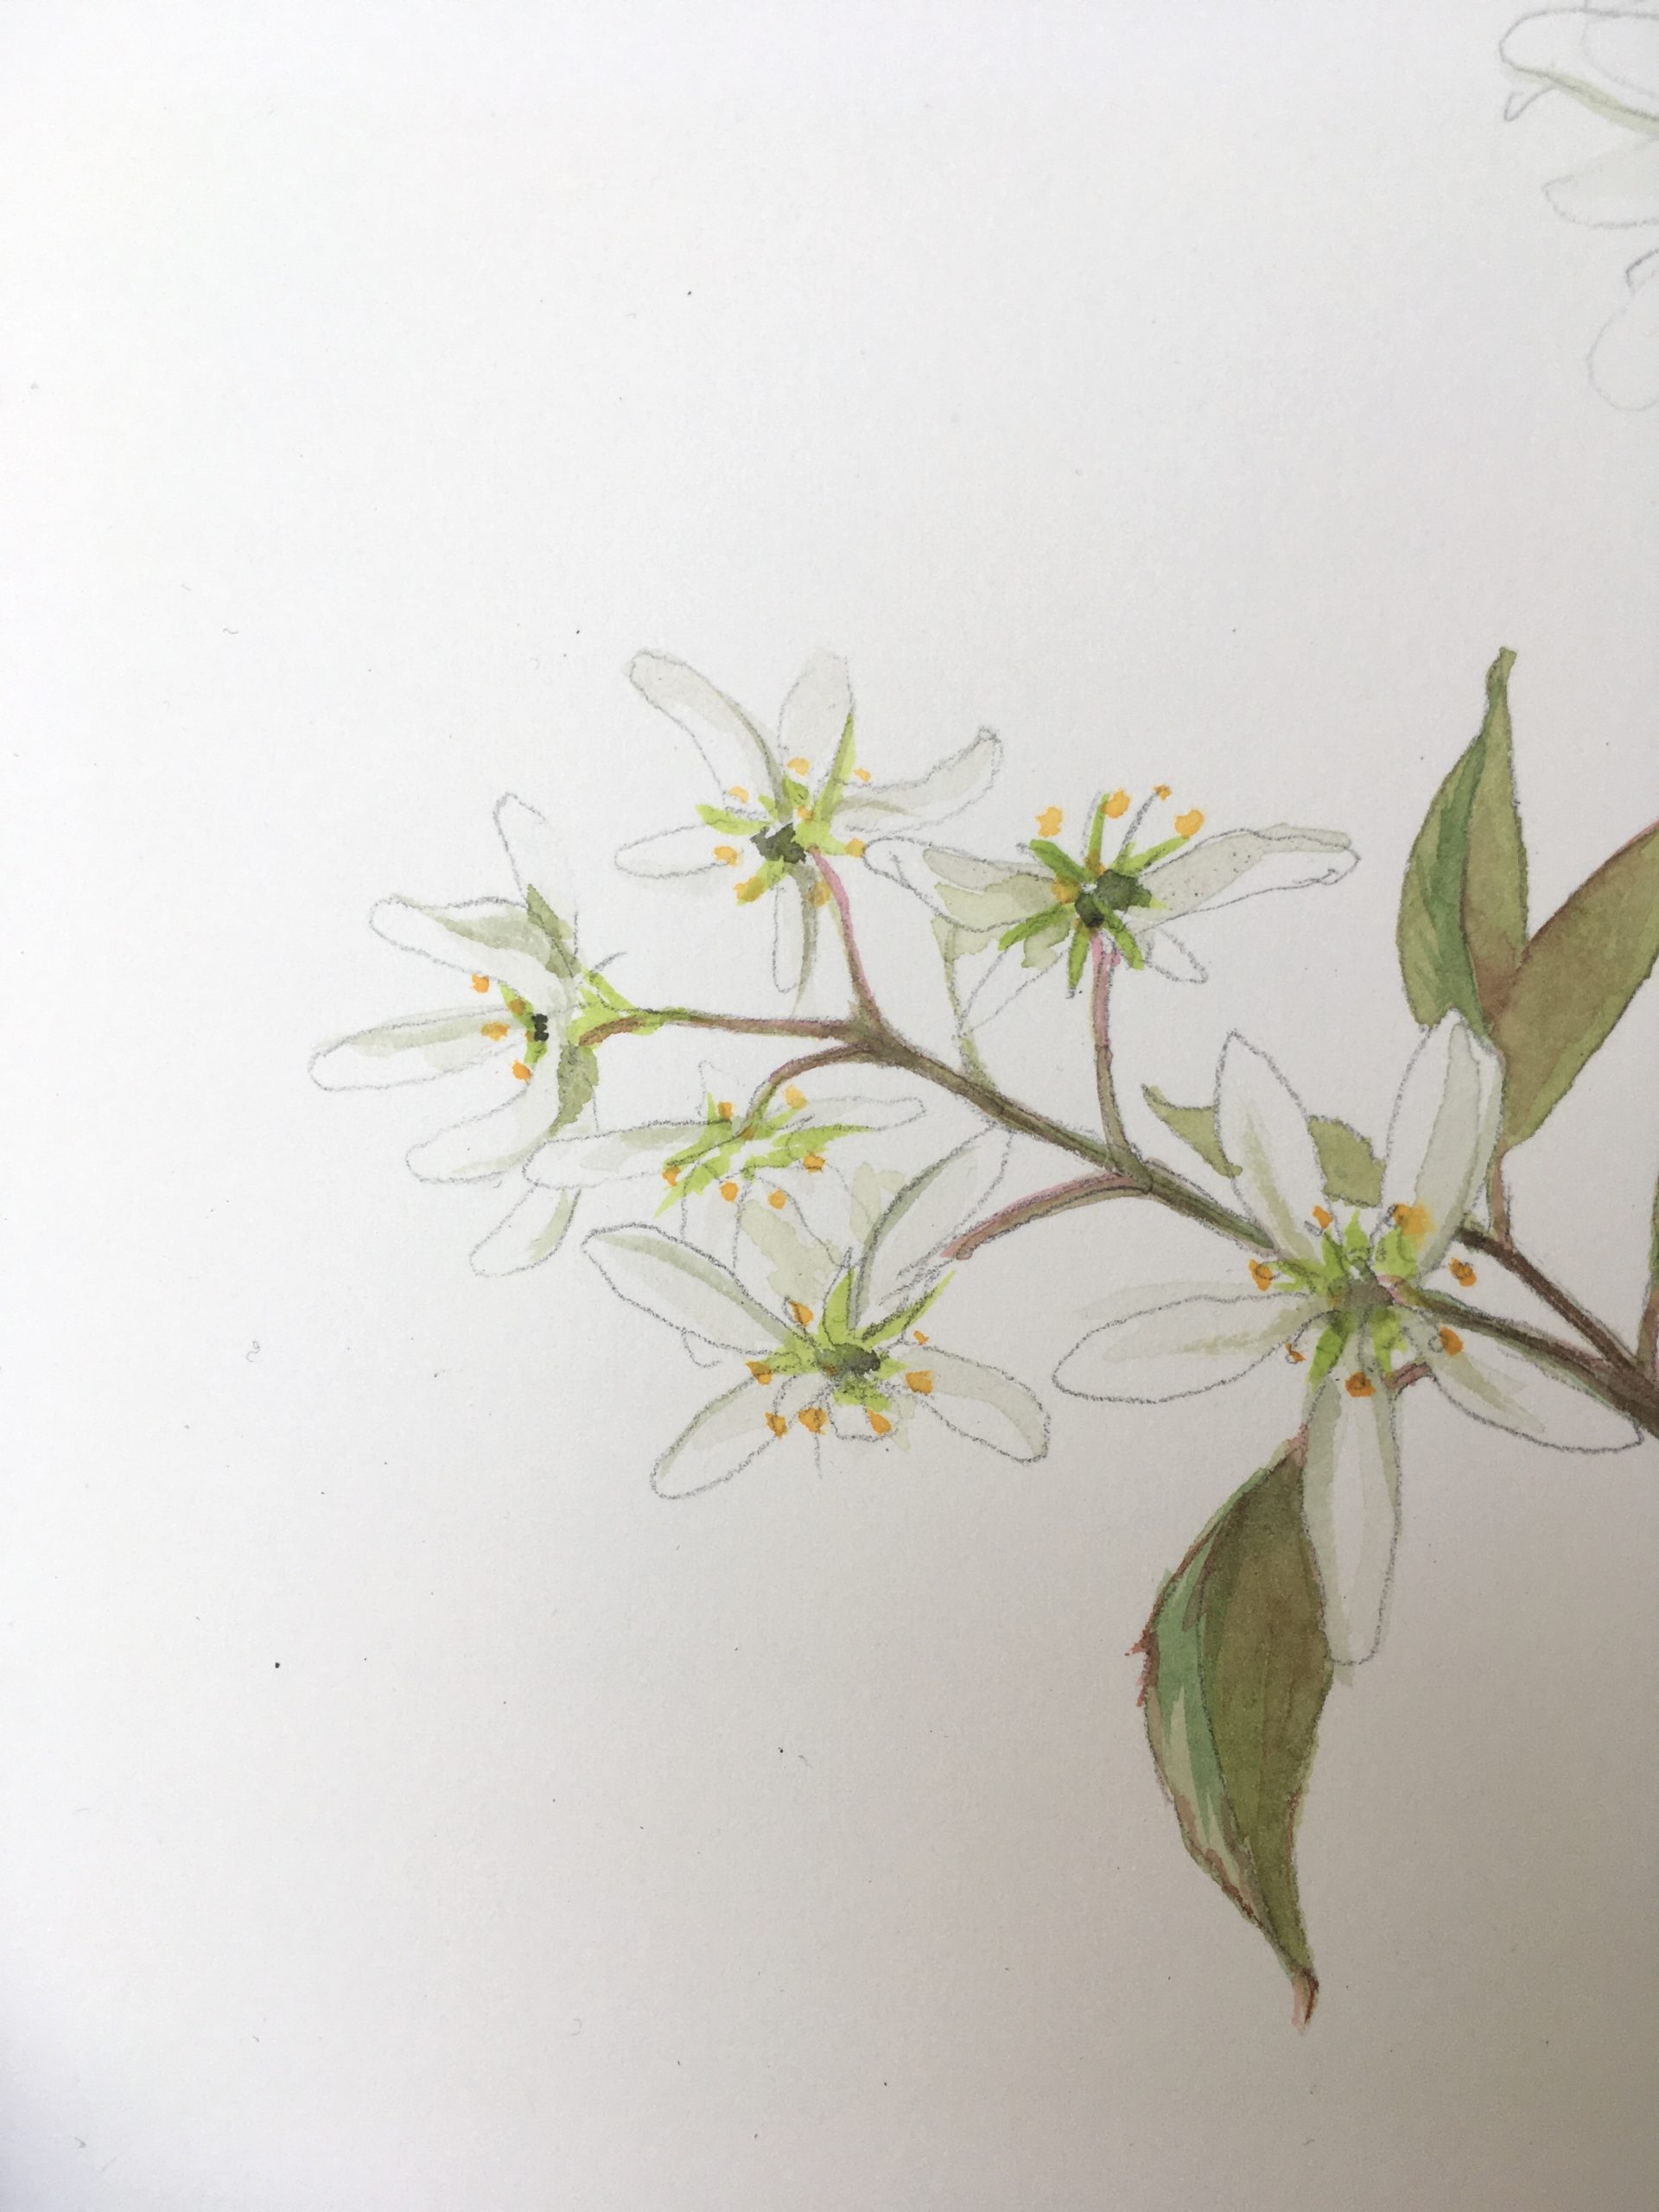
Begin painting the flowers. The Shadbush flower has white petals with a light green base (receptacle and sepal) and yellow tipped filaments (anthers). I begin with the lightest color first, careful to leave parts of the petals completely white. I used a very watered down version of the green I used to flat wash the leaves. I lightly filled in some pigment along the center fold of the petal, its underside, and the bottom closest to the sepal. Where one petal overlaps another, I color in the bottom petal. After this dries, I paint the base a bright green, allow that to dry, then finish with the yellow tips.
Use your finest point brush to add in any additional details. Allow your work to dry completely again. You might add field notes somewhere on the page or on the back so that you remember the name of the plant and where you found it. And of course, remember to sign your name!
